So you’d like to learn how to add a piped hem to pyjama bottoms?
Up-cycling and customising clothing is such a satisfying process and learning how to add a piped hem is such a great way to do this!. Seeing your garment transform into something really unique creates an ultra special relationship between you and your clothes. After all, that’s what dressmaking is really all about; making that little bit of extra effort to feel that little bit of extra gorgeous! There is however one item we all have that can often get overlooked in this area…I am talking about the glorious pyjama bottom. Our night-clothes are some of the most worn and loved things in our wardrobes, so why not feel as fabulous in them as we do in our day-clothes? In this blog post, I will show you how to add a piped hem to pyjama bottoms. A classic and simple way to add some well deserved elegance to your PJs.
Step 1. The first thing you need to do is decide how long you want your turn up to be and create a pattern piece for it. There are 2 ways to do this depending on whether you have a pattern for your pyjamas or not.
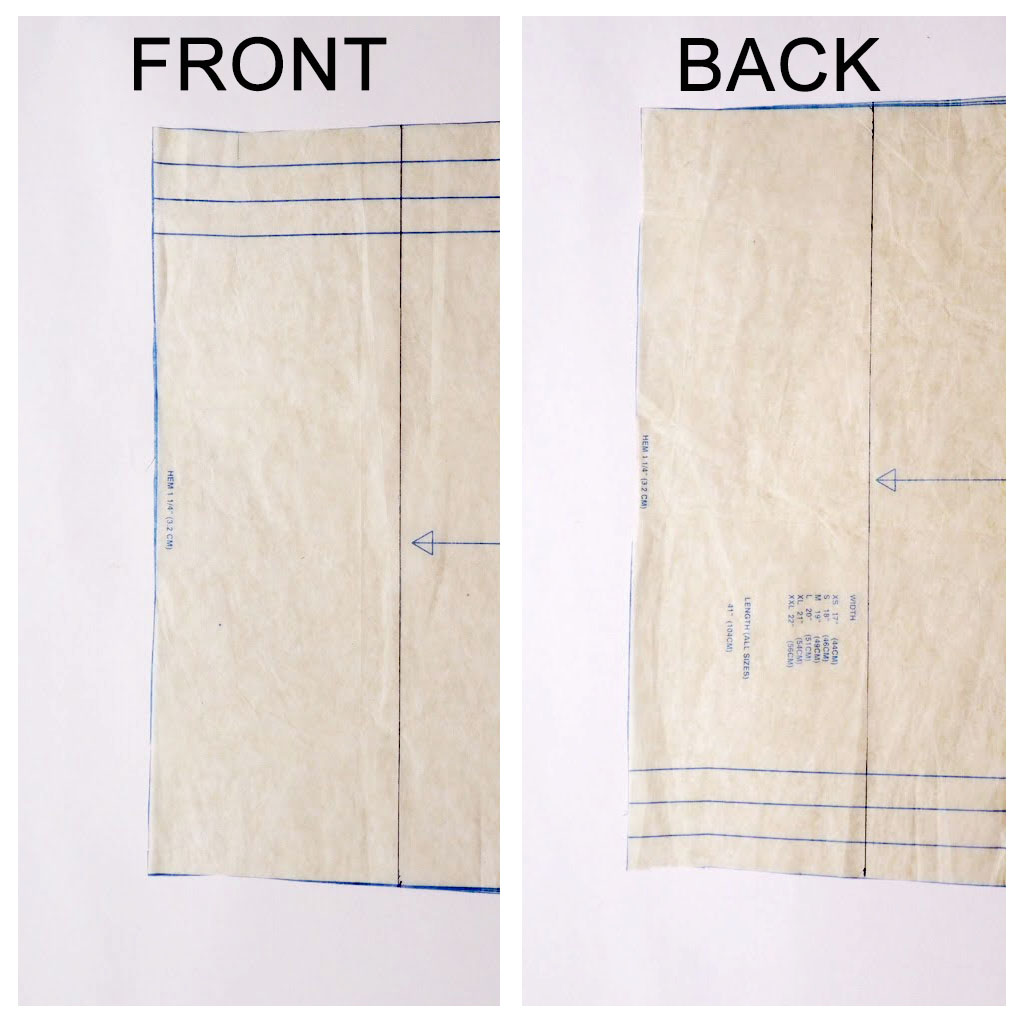
If you have a pattern: measure up from the pyjama hem line how high you want your cuff to be. Draw a straight line from one side of the leg to the other. Do this on both your front and back pattern pieces as illustrated below:
1a
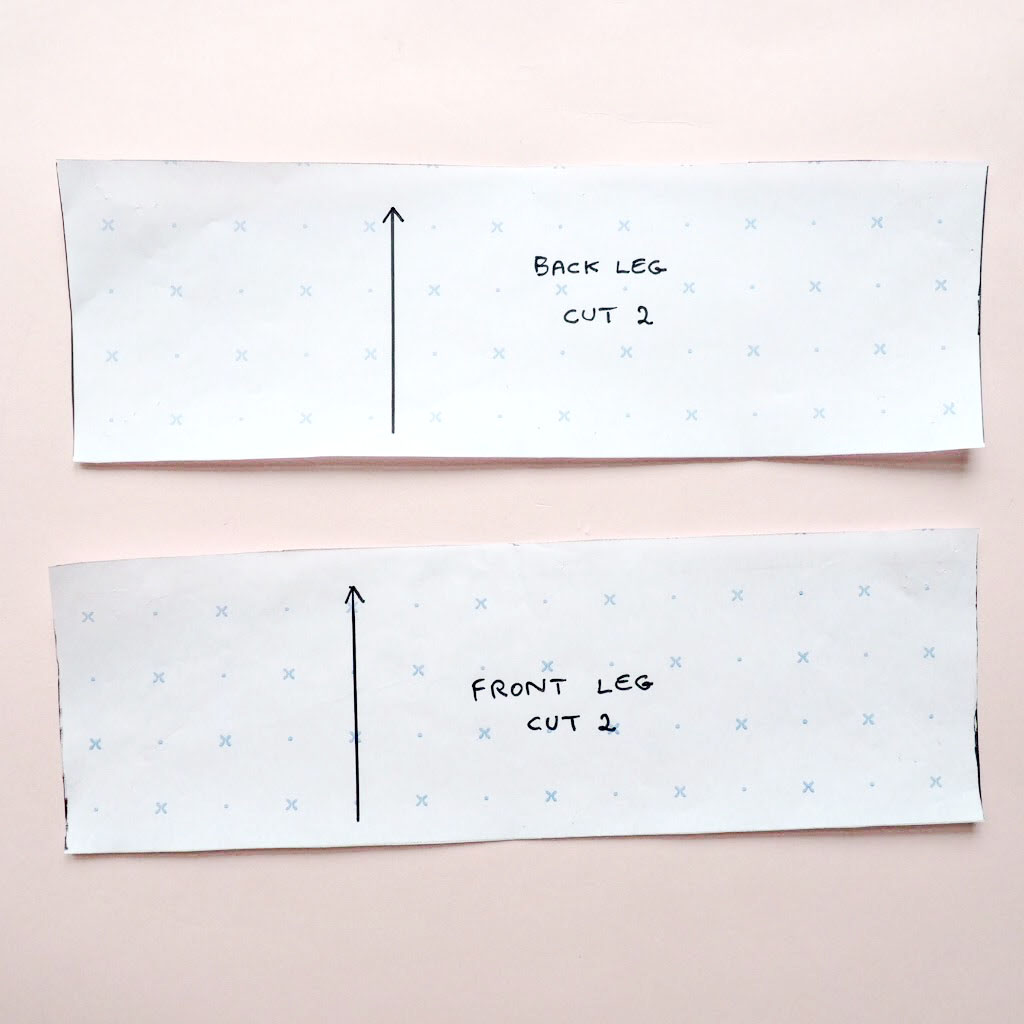
On a scrap piece of paper, trace the new rectangles you have made + 2cm seam allowance at the top edge to make some new pattern pieces for the turn up. Label the rectangles correspondingly with either ‘back’ or ‘front’ and ‘cut 2’. Draw a grain line 90 degrees from the straight bottom edge. Your new pattern pieces should look similar to this:
1b
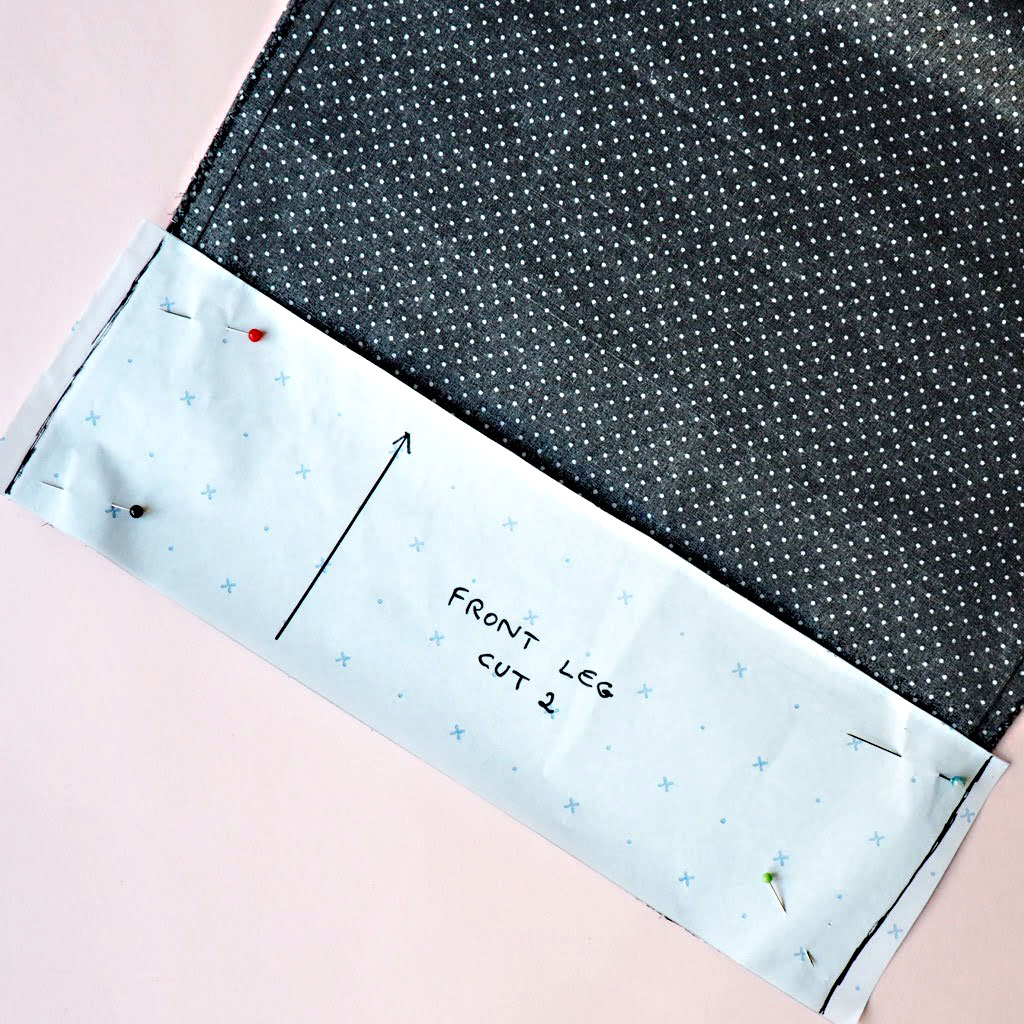
If you don’t have a pattern: First, turn the bottoms inside out and unpick the existing hem. Once unpicked, iron thoroughly to make sure they are flat and crease free. Measure up from the hem of your pyjama bottoms how high you would like your turn up to be. Cut a rectangle out of scrap paper with your desired cuff hight, making sure the width is wider than your pyjama leg. Place the paper rectangle on top of the front half of the leg and using the leg as a guide, mark 2 straight lines to complete your rectangle as illustrated below:
1c
You may have noticed that the fabric of the back piece is wider than the front, in which case it will overlap the side seam like this:

1d
Measure the width of the overlap. Repeat the steps we took to make a cuff pattern piece for the front half of the leg, but this time adding the width of the overlap to create a cuff pattern piece for the back leg. Your rectangle should look similar to the one below:

1e
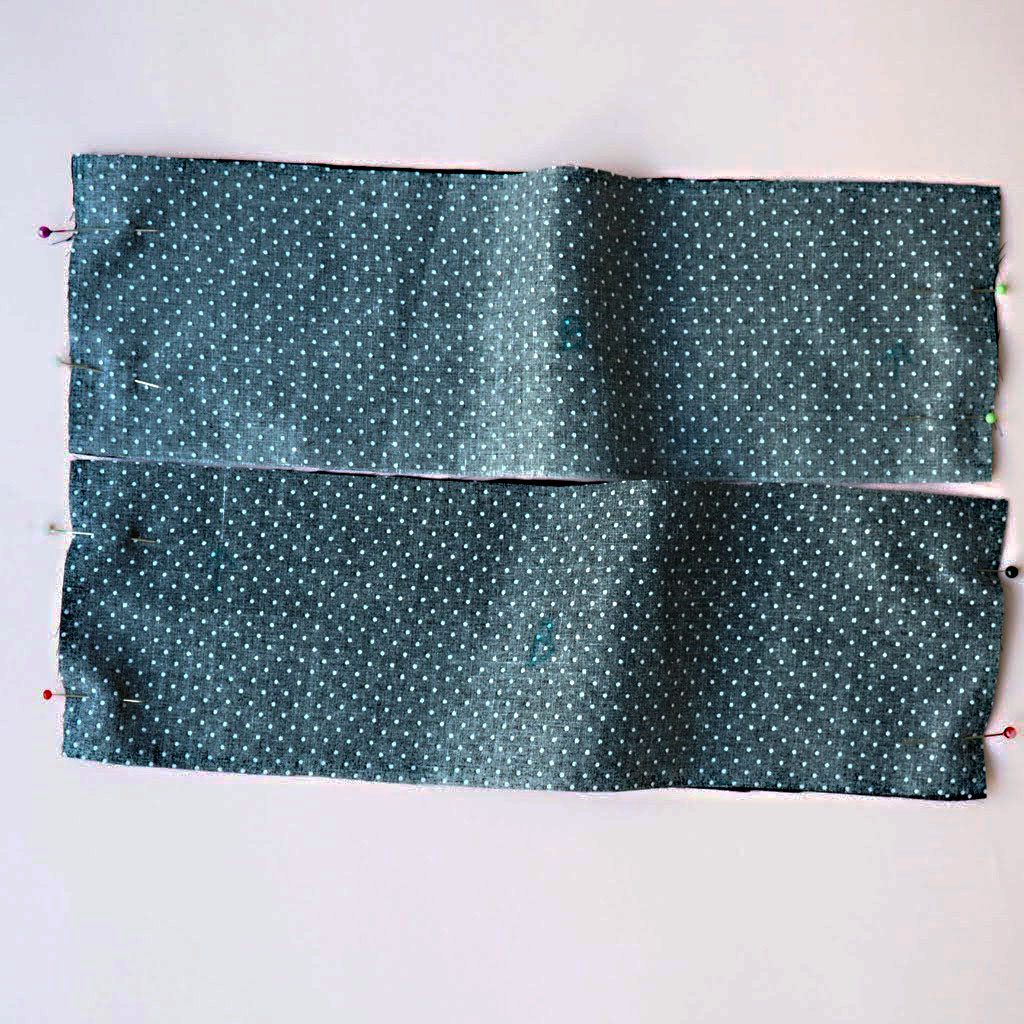
Step 2. Fold your fabric in half and cut 2 of each of your new pattern pieces. Line the edges and corners of the rectangle up right sides facing together and pin in place.
2
Step 3. Sew a seam along the pinned sides and press the seam allowances open.
If you are using a pattern: make sure your seam allowance corresponds to the pattern.
If you are not using a pattern: measure the seam allowance on your pyjamas and sew your seams accordingly.
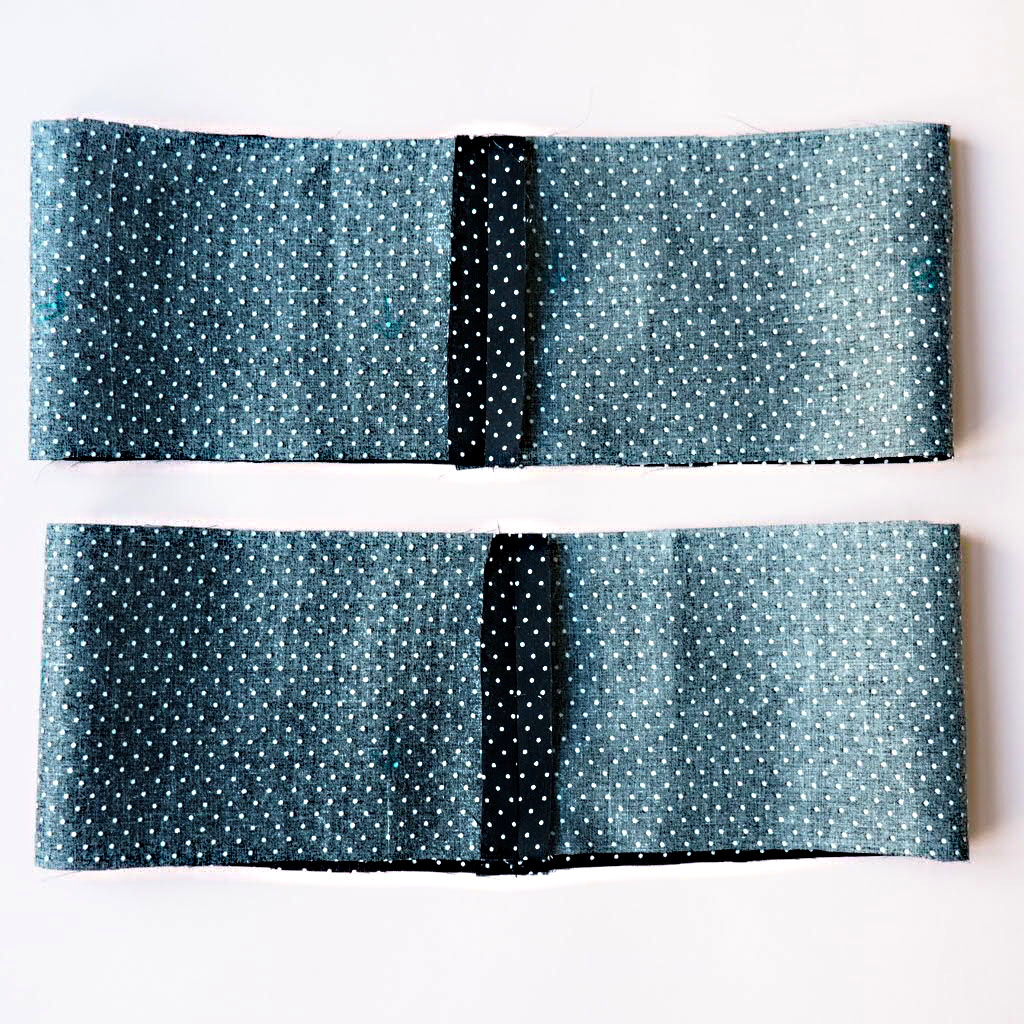
3
Step 4. Measure all the way around the bottom of your new hems. Cut 2 pieces of 13mm wide bias binding measuring 2cm more than the cuffs’ circumference. Open out and press one of the pre-folded edges of the bias binding, so that you are left with only 1 folded side.
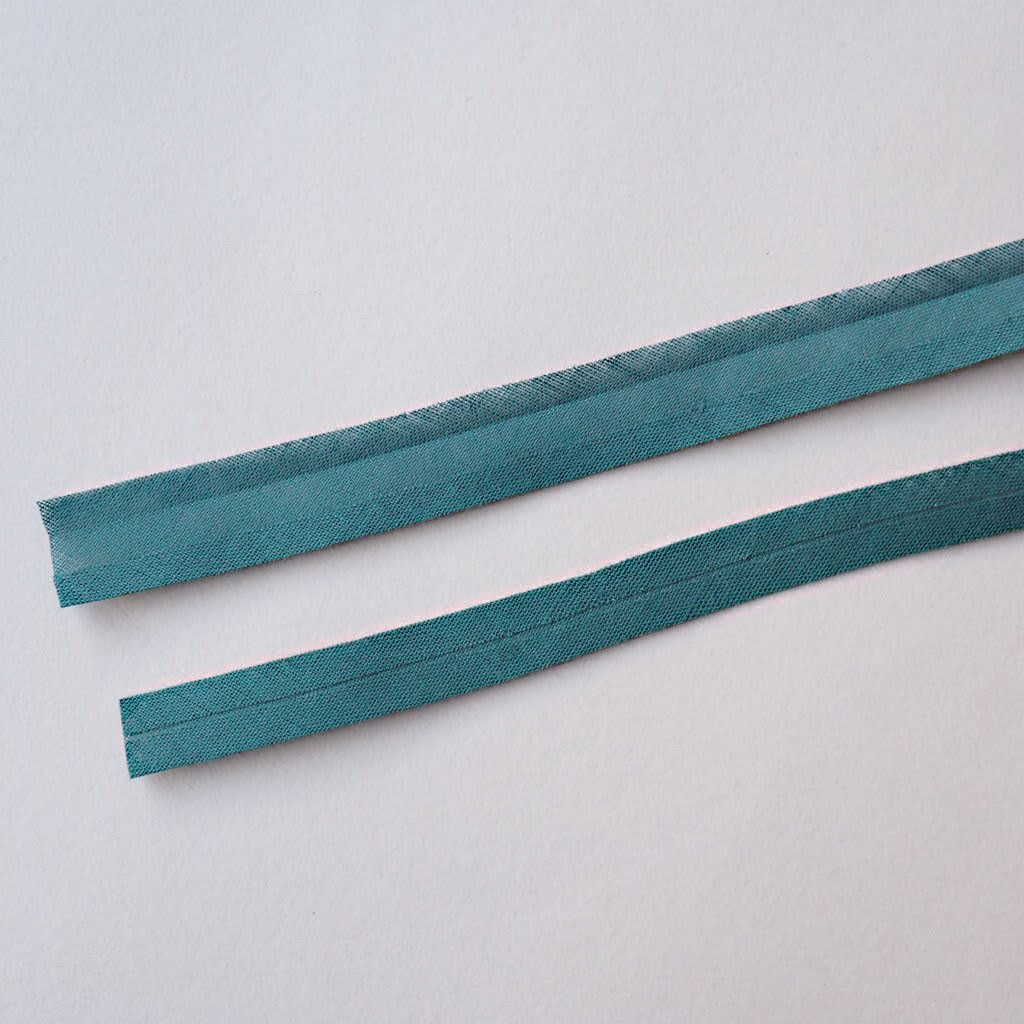
4
Step 5. Fold each bias binding piece in half with right sides together and stitch the ends using a 1cm seam allowance. Trim the seam allowances down and press them open. You now have two bias binding loops measuring the same as your pyjama bottoms’ cuffs circumference.
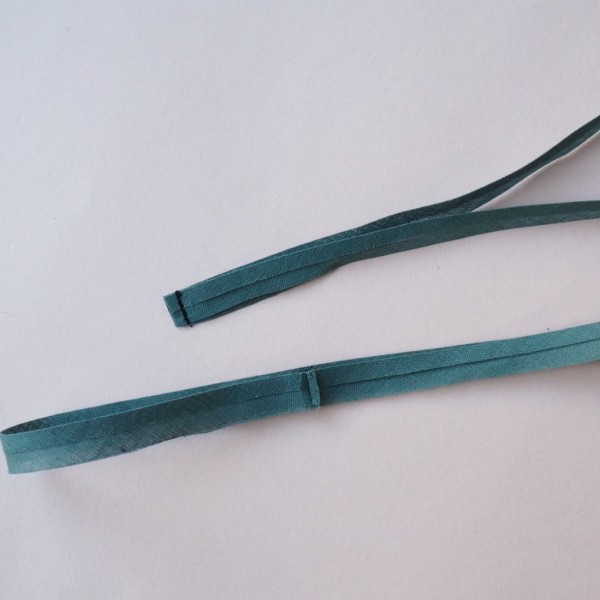
5
Step 6. Making sure to match the loops’ seam allowances to the cuffs’ inside legs ones, neatly line up and pin the right side of the flat pressed edge of your loops to the right side edge of your new cuff hem.
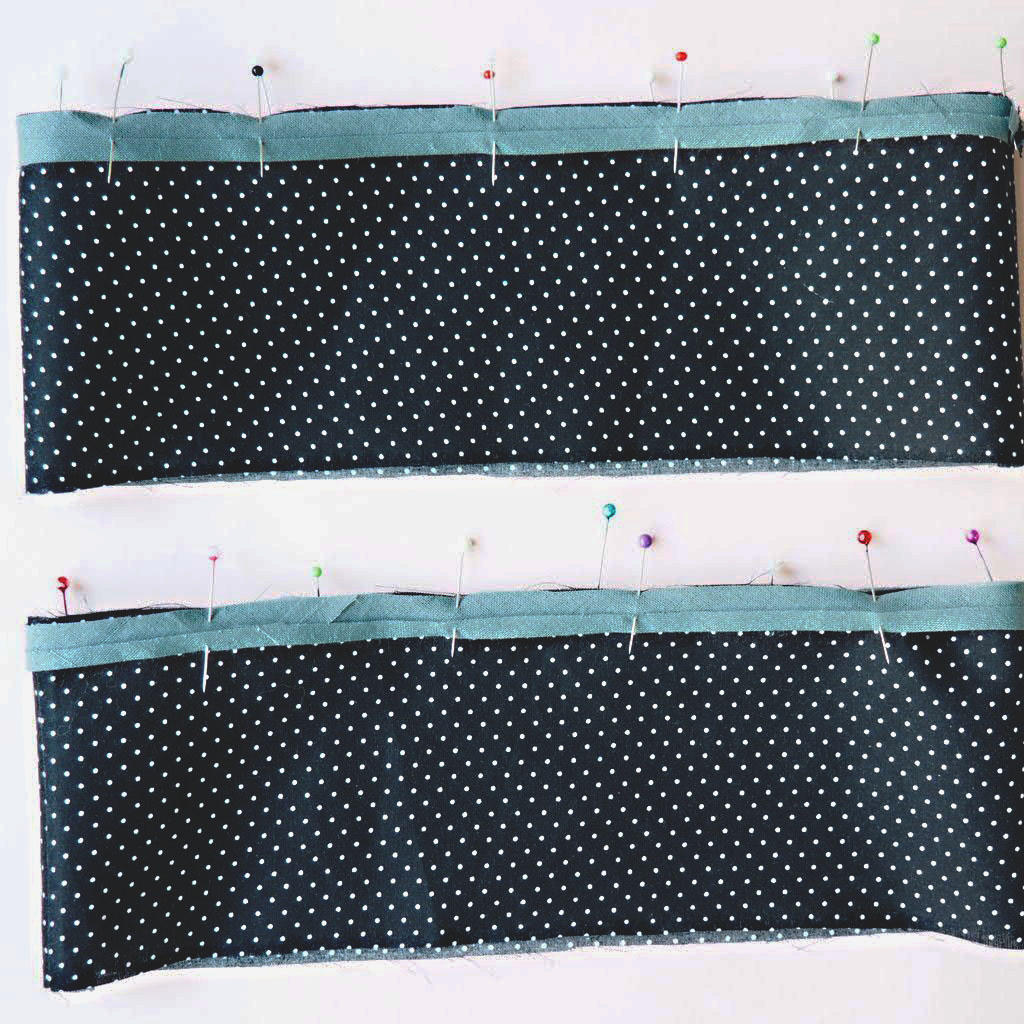
6
Step 7. Sew a 1.5cm seam allowance all the way around the cuffs.
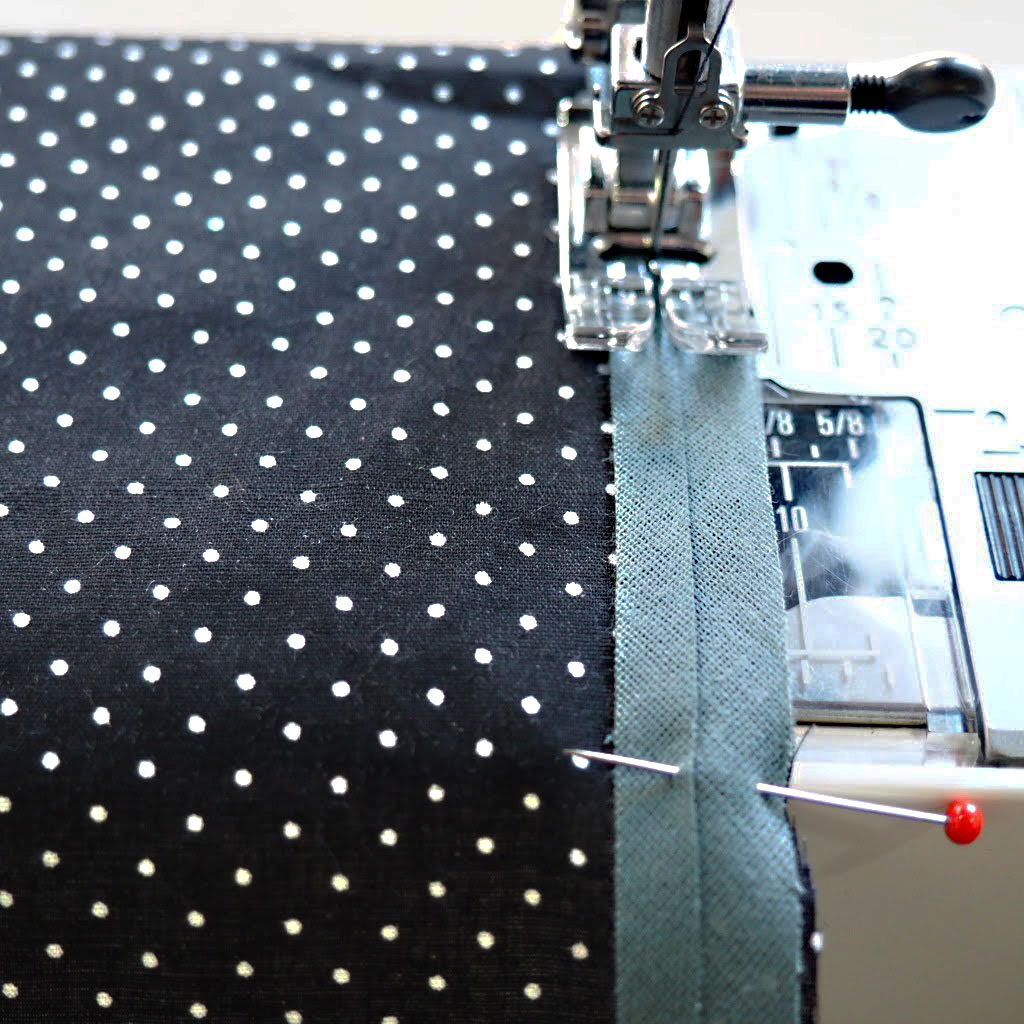
7
Step 8. Your cuffs should now look like the ones pictured below.
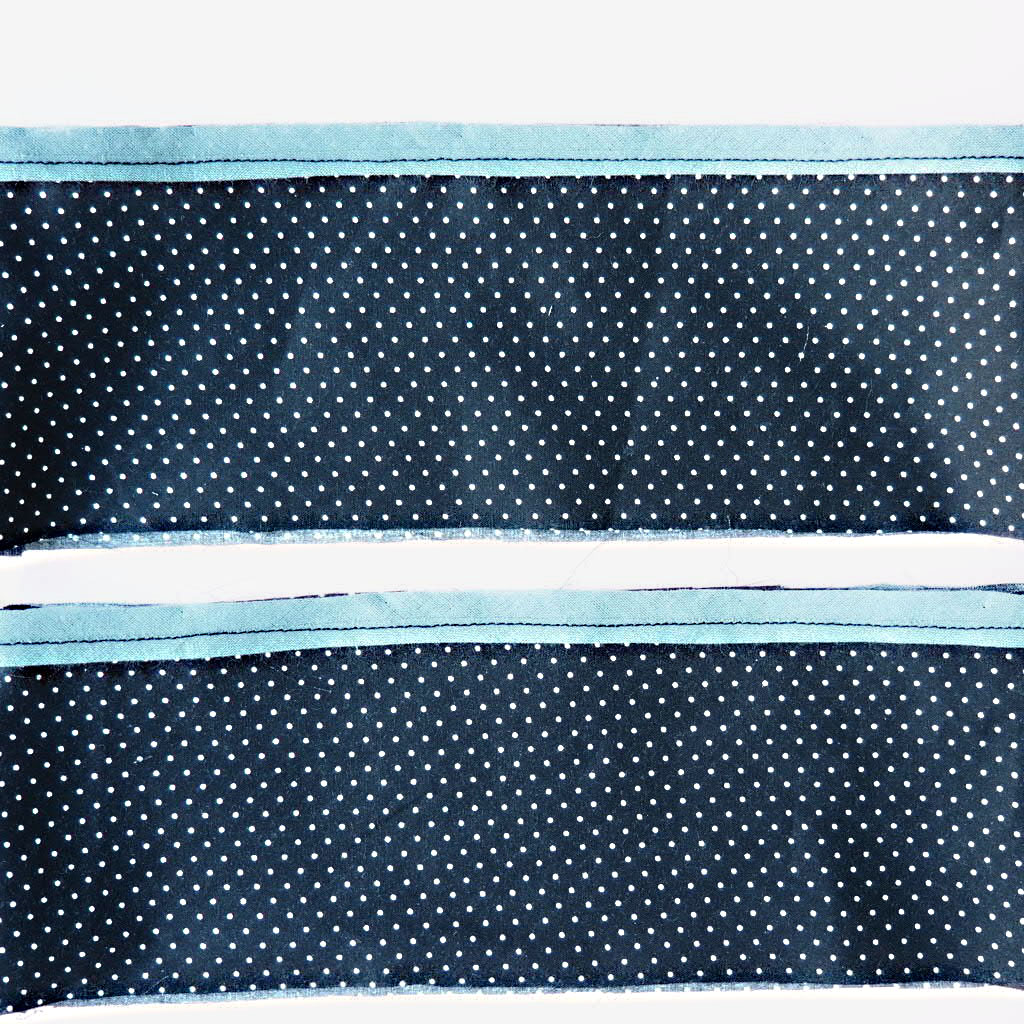
8
Step 9. Fold the hem with bias binding now sewn on down onto the inside of the cuff and press into place. It should now look like the image below.

9
Step 10. Turn both your cuff and your pyjamas inside out. With the wrong sides facing out, place the cuff over the bottom of you pyjama leg. You should have the right side of the cuff facing the wrong side of the pyjama leg, with both wrong sides facing out to you.
10
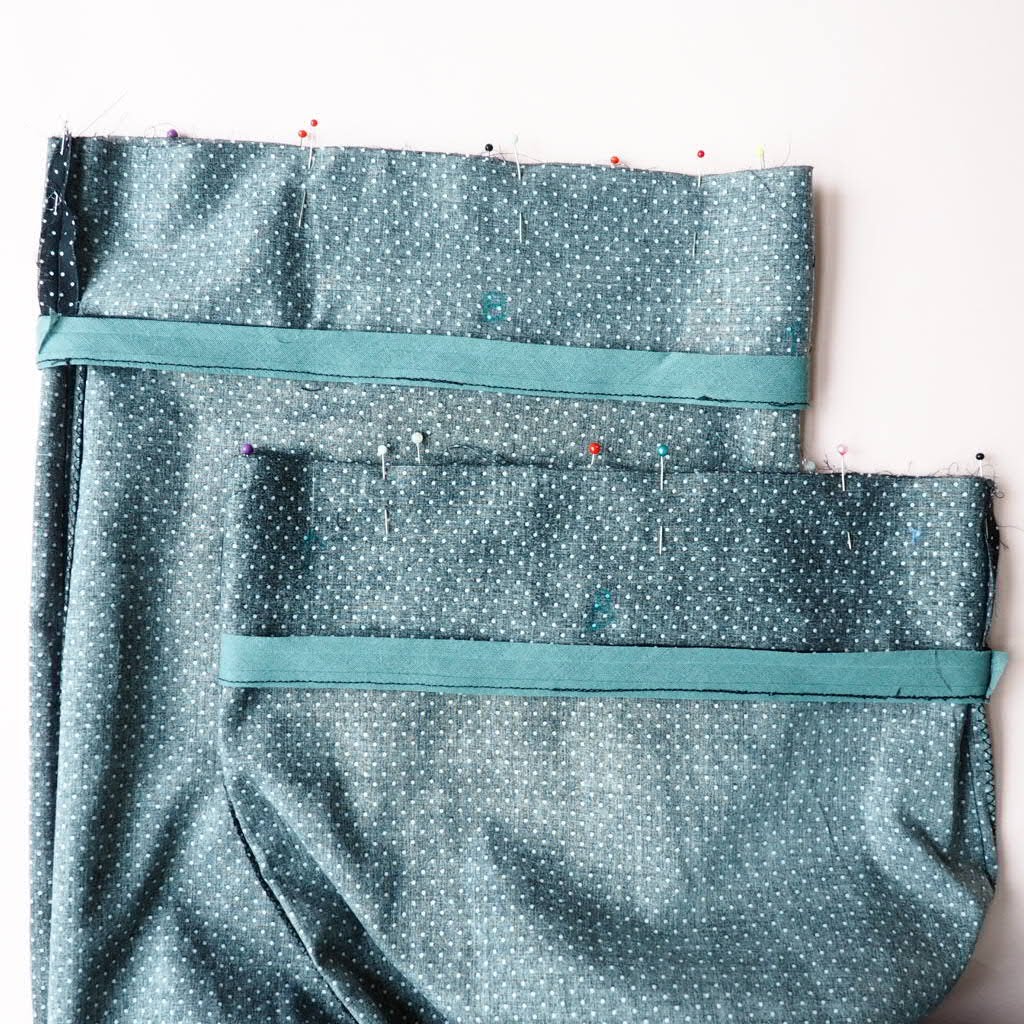
Step 11. Sew a 1cm seam allowance around the pinned edge.
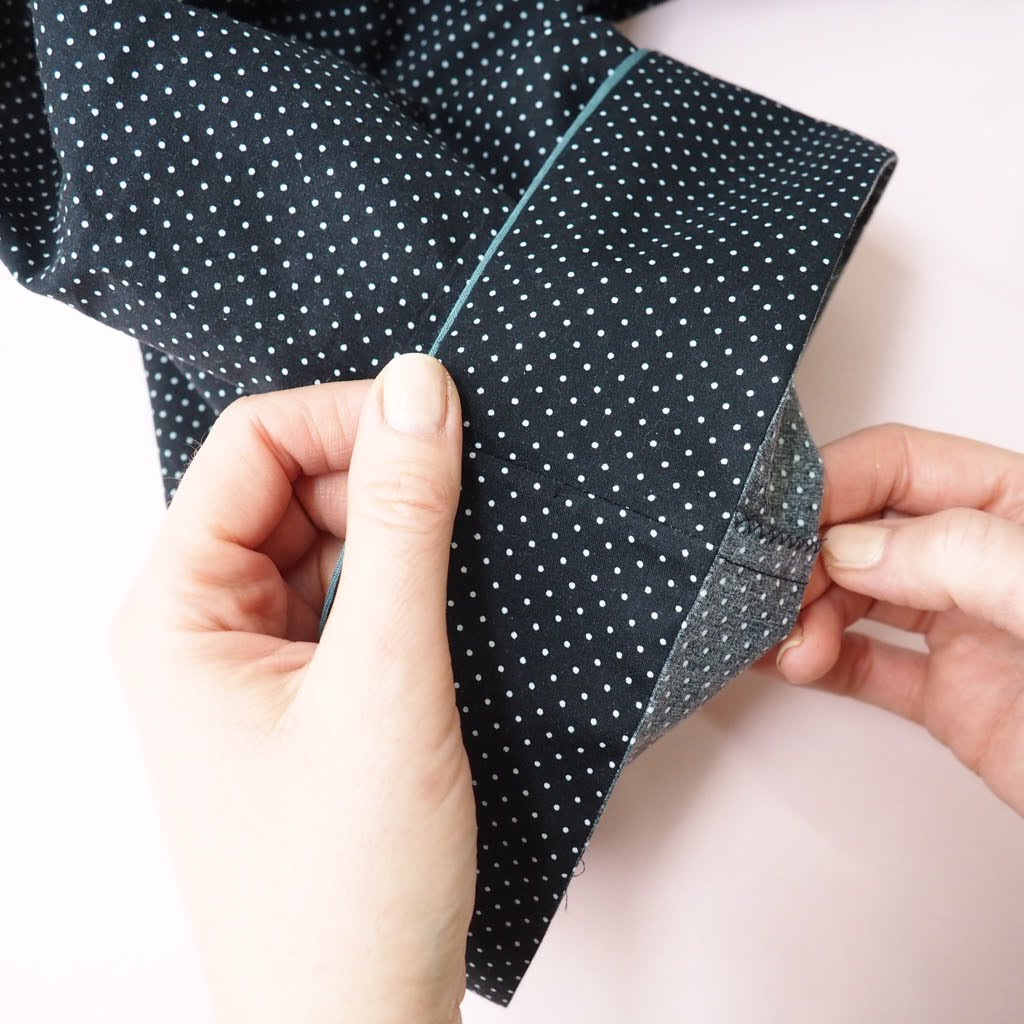
Step 12. You should now have a 1cm seam sticking out on the right side of your pyjama leg, so that when the trousers are inside out, you have the right side of the cuff facing you like in the image below.
12
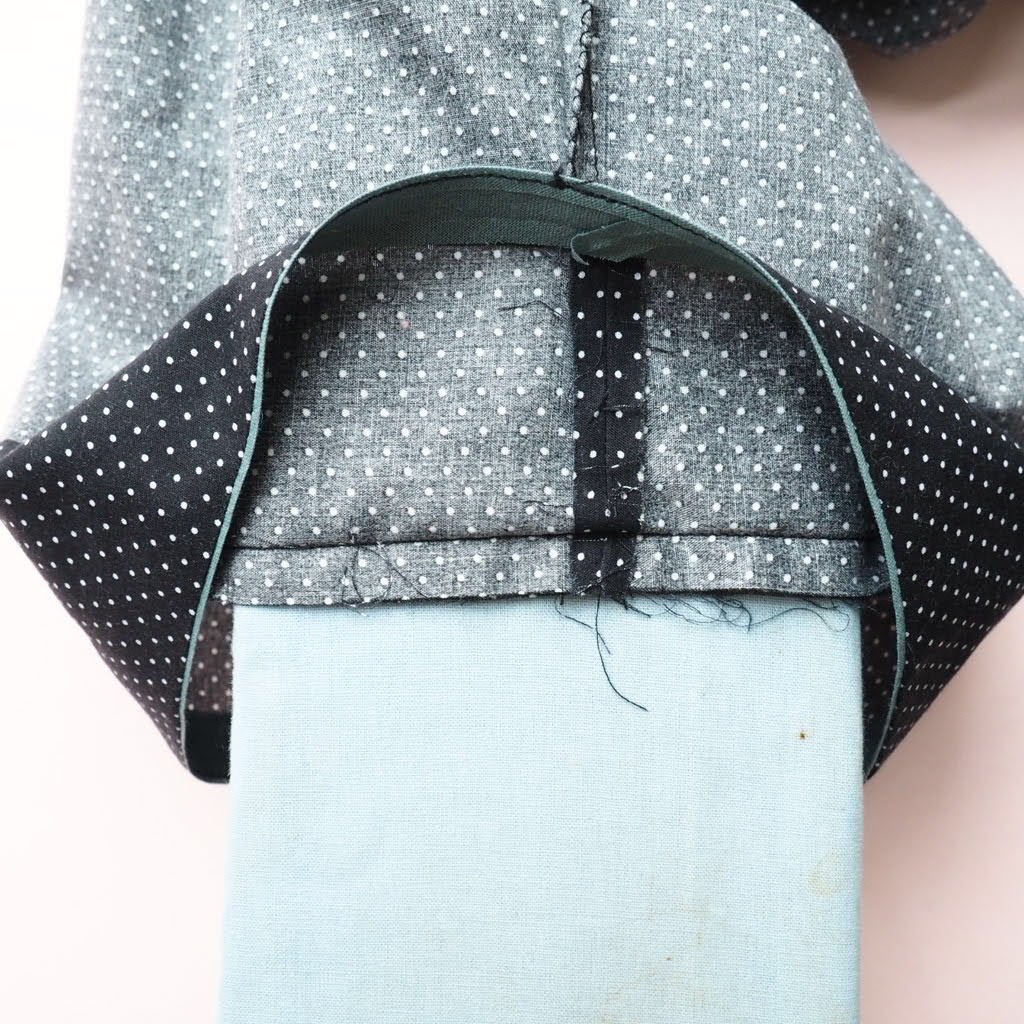
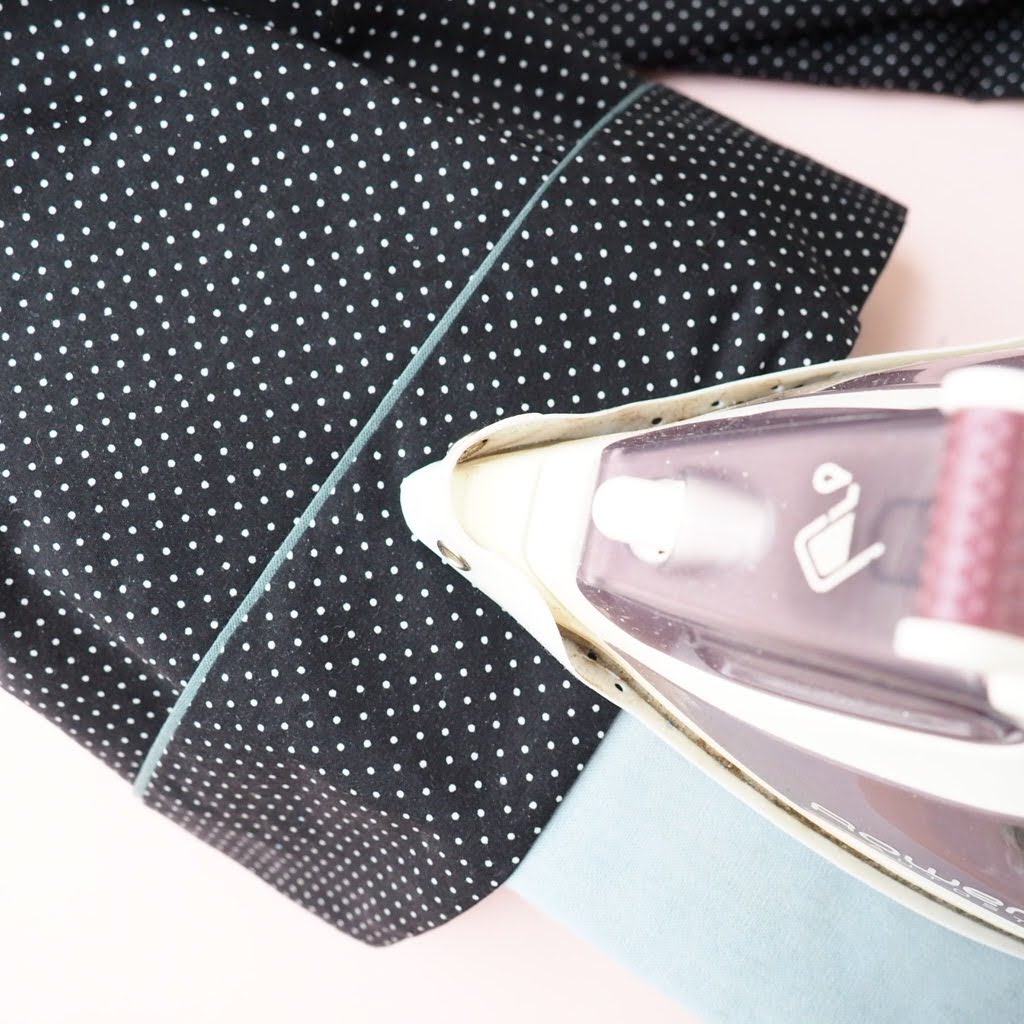
Step 13. With the pyjamas still inside out, press the new seam down.

13
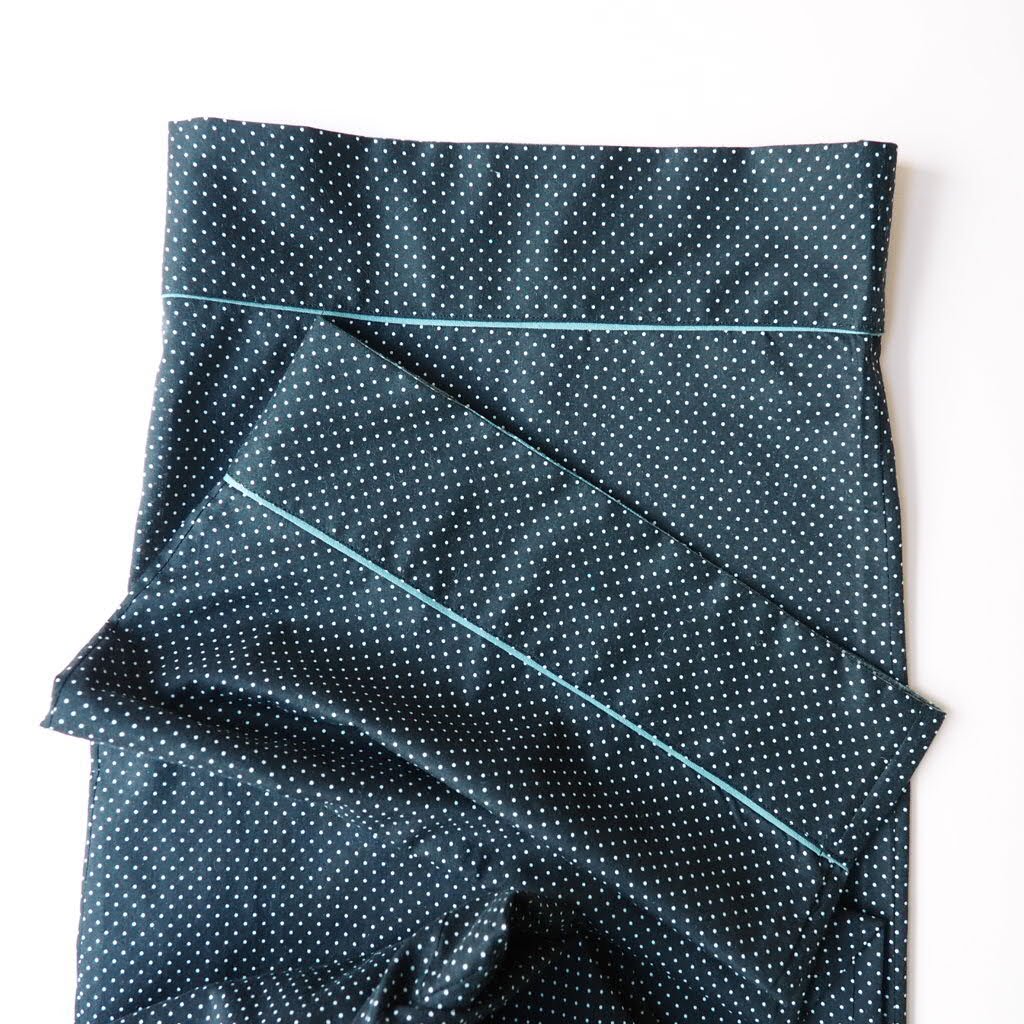
Step 14. Turn you pyjamas so they are the right side out. You will see that the cuff is currently wrong side facing out and ready to be turned up. Once you have turned the cuff up, you will see you now have the right side facing out as pictured below.
14
Step 15. Finally, press your new cuff down nicely into place and top stitch all around right below the piping so to secure the cuffs onto the legs.
15
And voila! You now know how to add a piped hem to pyjama bottoms and have a gorgeous rejuvenated pair you can wear with pride.
Go on and give the tutorial a go! If you do, please share your makes on social media and don’t forget to tag us by including the @sewitwithlove handle in your caption on either Instagram, Facebook or Twitter. We adore to see the creations our savvy subscribers and followers come up with!
Did you find this tutorial useful? Do you have any tips for giving your nightwear a new lease of life? If so, do leave us a comment below. We’d love to know about them!
Happy up-cycling and sweet dreamzzzzzz…
Xx
I like such tutorials very much. I can learn a lot, especially if someone are a beginner. Thanks for sharing such things. I appreciate it very much. Thanks a lot! Your blog is really inspiring.
Hi! I was looking to try sewing piping onto my new pajama panel pieces and somehow came across your step by step tutorial posting. Thank you so much for showing the details! I will check out your other postings 🙂 Hope all is well with you. God bless!!
Thank you for this detailed tutorial! I’m so excited about my refreshed pajama pants!
So glad to hear you found our tutorial useful 🙂