As you learn to sew, being able to make your own Bias tape, or Bias binding, will certainly come in very handy in many different sewing and dressmaking projects. This is something I frequently make to finish raw edges or as a decorative detail in my sewing and dressmaking projects, but due to lack of time I never manage to teach it in my sewing classes and normally ask my students to buy it from an haberdashery supplier. (Yes, I know…we’ve all got busy lives!) Personally, although there is nothing wrong with the tape sourced from sewing suppliers, I think nothing beats making your own. For a start, when you learn to sew your own tape you can use the same fabric you are using for your project (if you so wish) which in many cases can provide a much nicer finish than commercially produced tape. For those of you who are very new to the world of sewing and sewing jargon, bias binding is a narrow strip of fabric cut on the cross- grain of the fabric (or bias) that is ,at a 45 degrees angle from the straight edges of the fabric (selvedges). Fabric cut on the cross grain stretches easily when pulled and has got a better drape than fabric cut on the straight grain. Bias tape has many a useful application in sewing and dressmaking projects such as finishing raw edges, making piping, using instead of facings on necklines and armholes, binding and reinforcing seams or simply serving as a decorative detail. So, with no further ado, let me teach you this very useful sewing technique in my step-by-step guide to making your very own Bias tape!
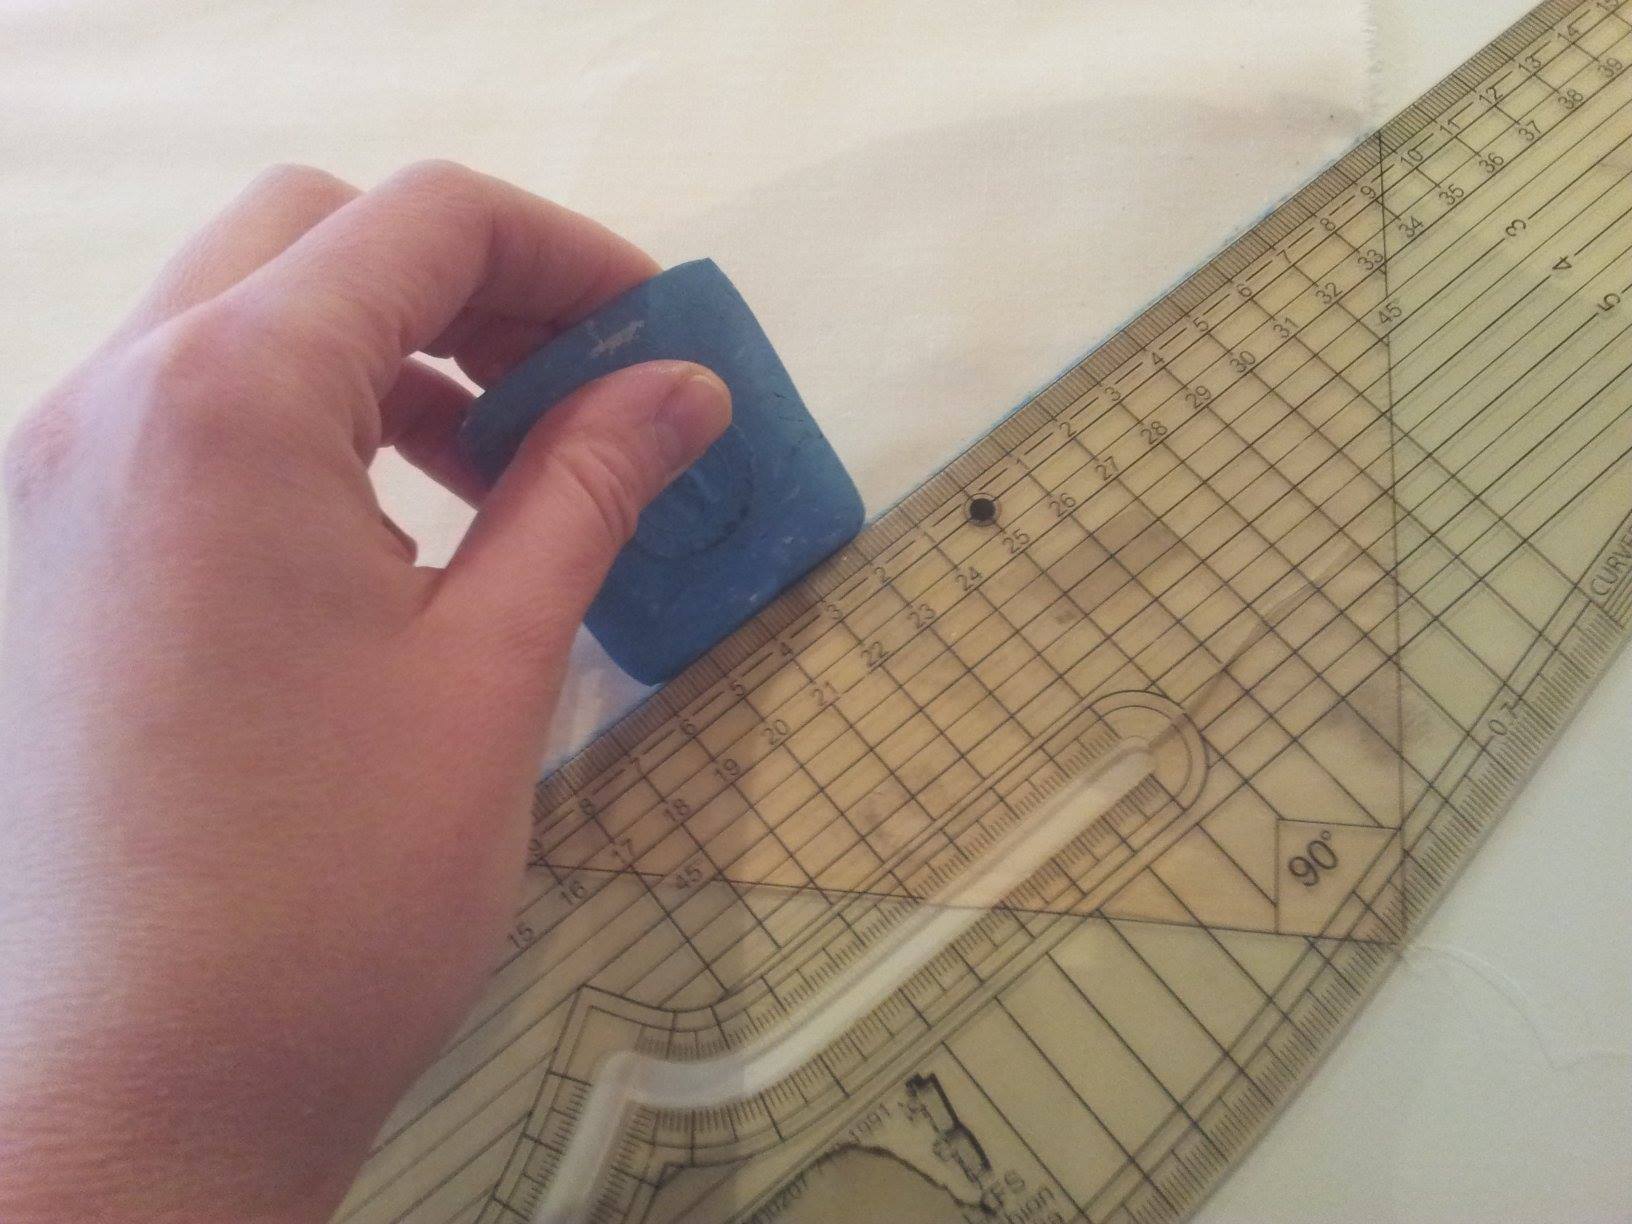
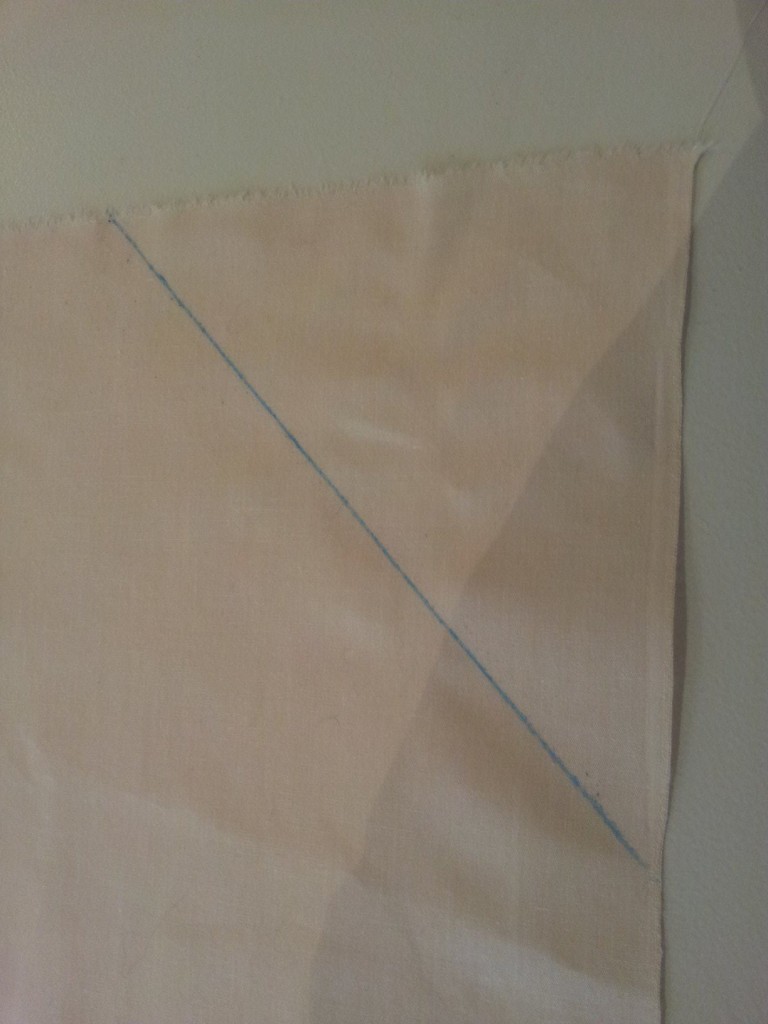
Step 1
Using a set square or a pattern maker like the one below, mark a line at a 45 degrees angle from the straight edge (selvedge) of the fabric.
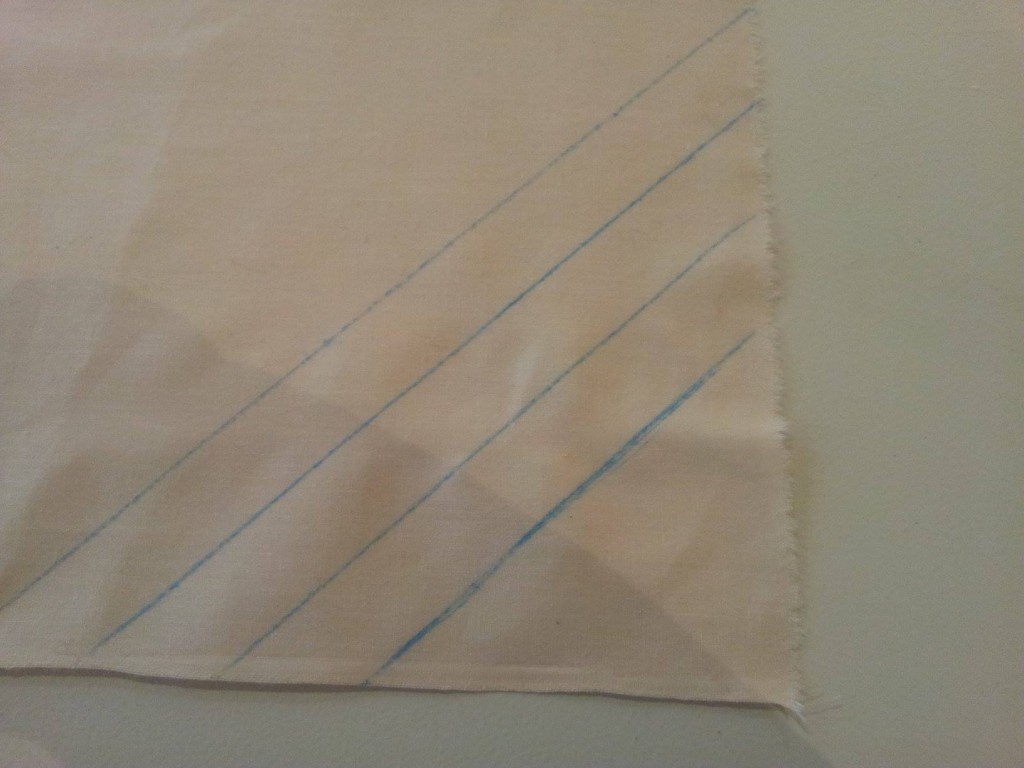
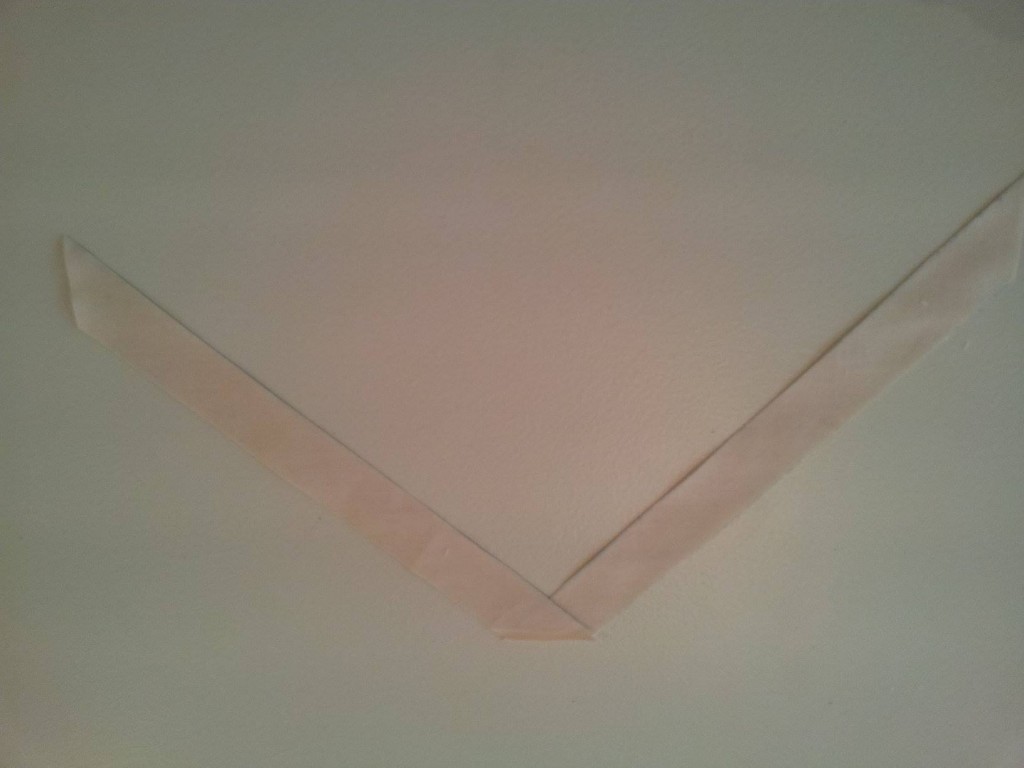
Step 2
Using you first line as a guide, draw equally wide parallel lines to create as many strips as you need and cut them out.
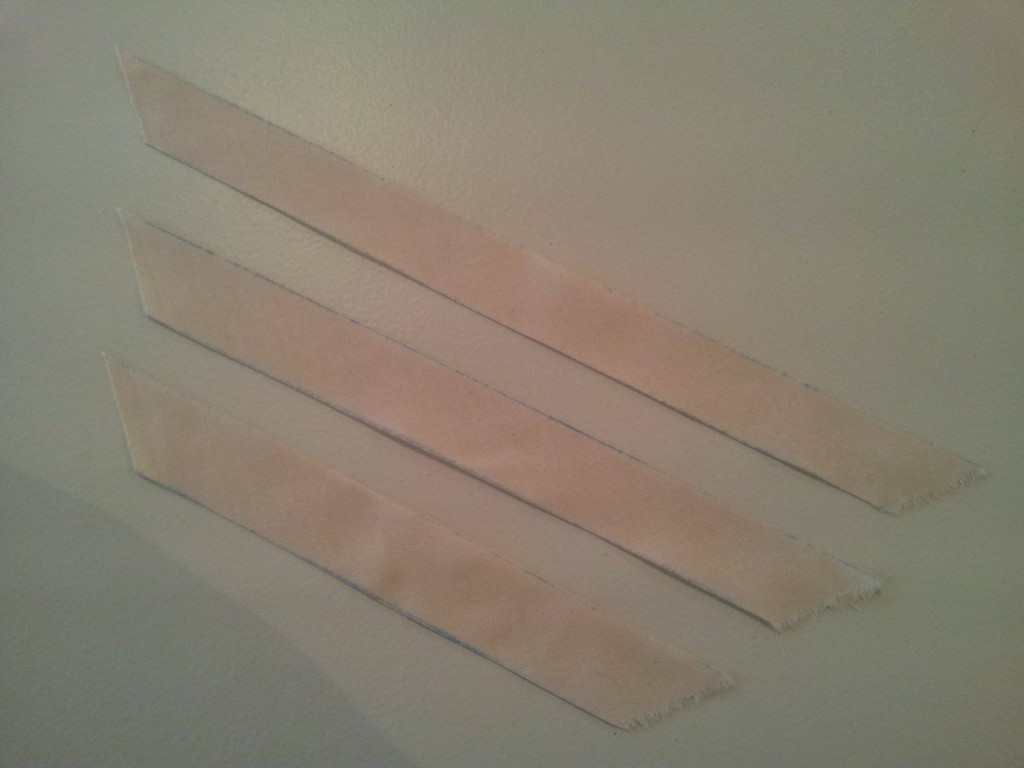 These are your Bias strips, now ready to be joined up to create your bias tape!
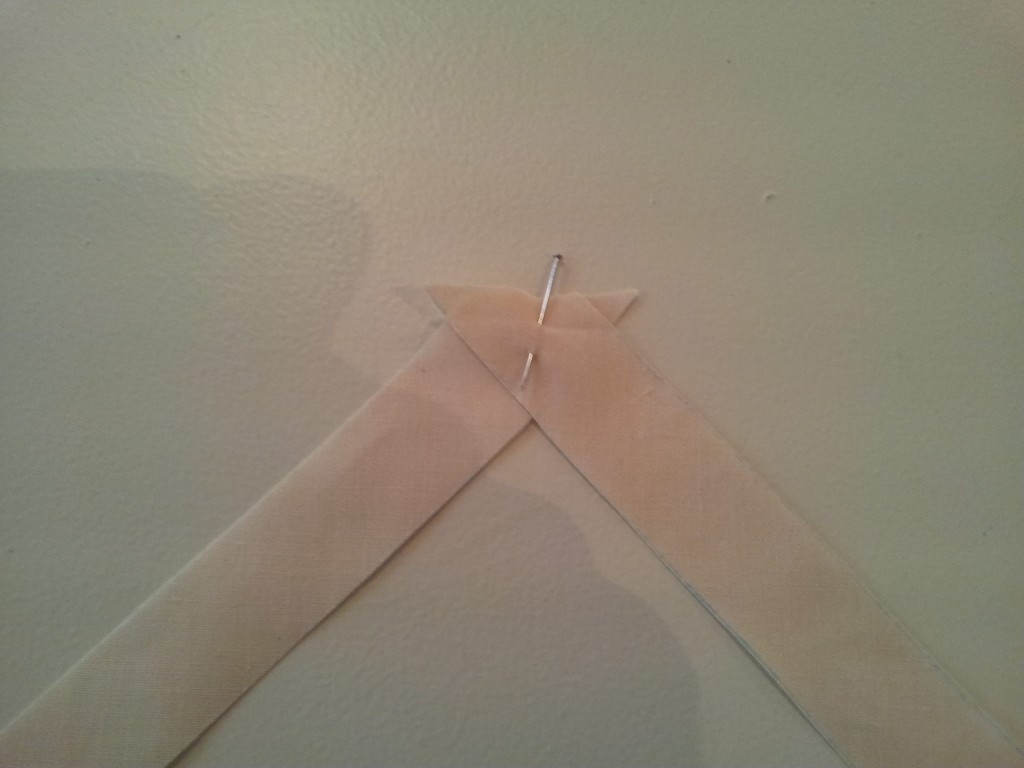
Step 3
With right sides together pin two strips to form a V shape as in the picture, with seam ends aligned and place a pin in the centre.
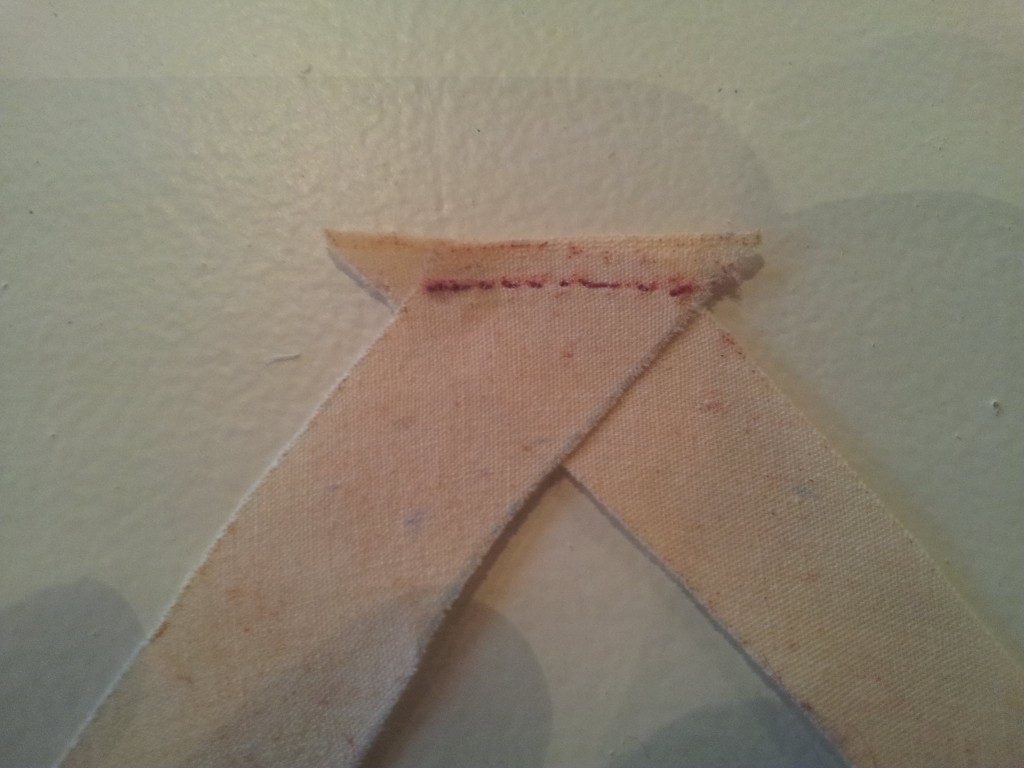
Step 4
Machine stitch using a straight stitch land leaving about 6mm seam allowance from the edges.

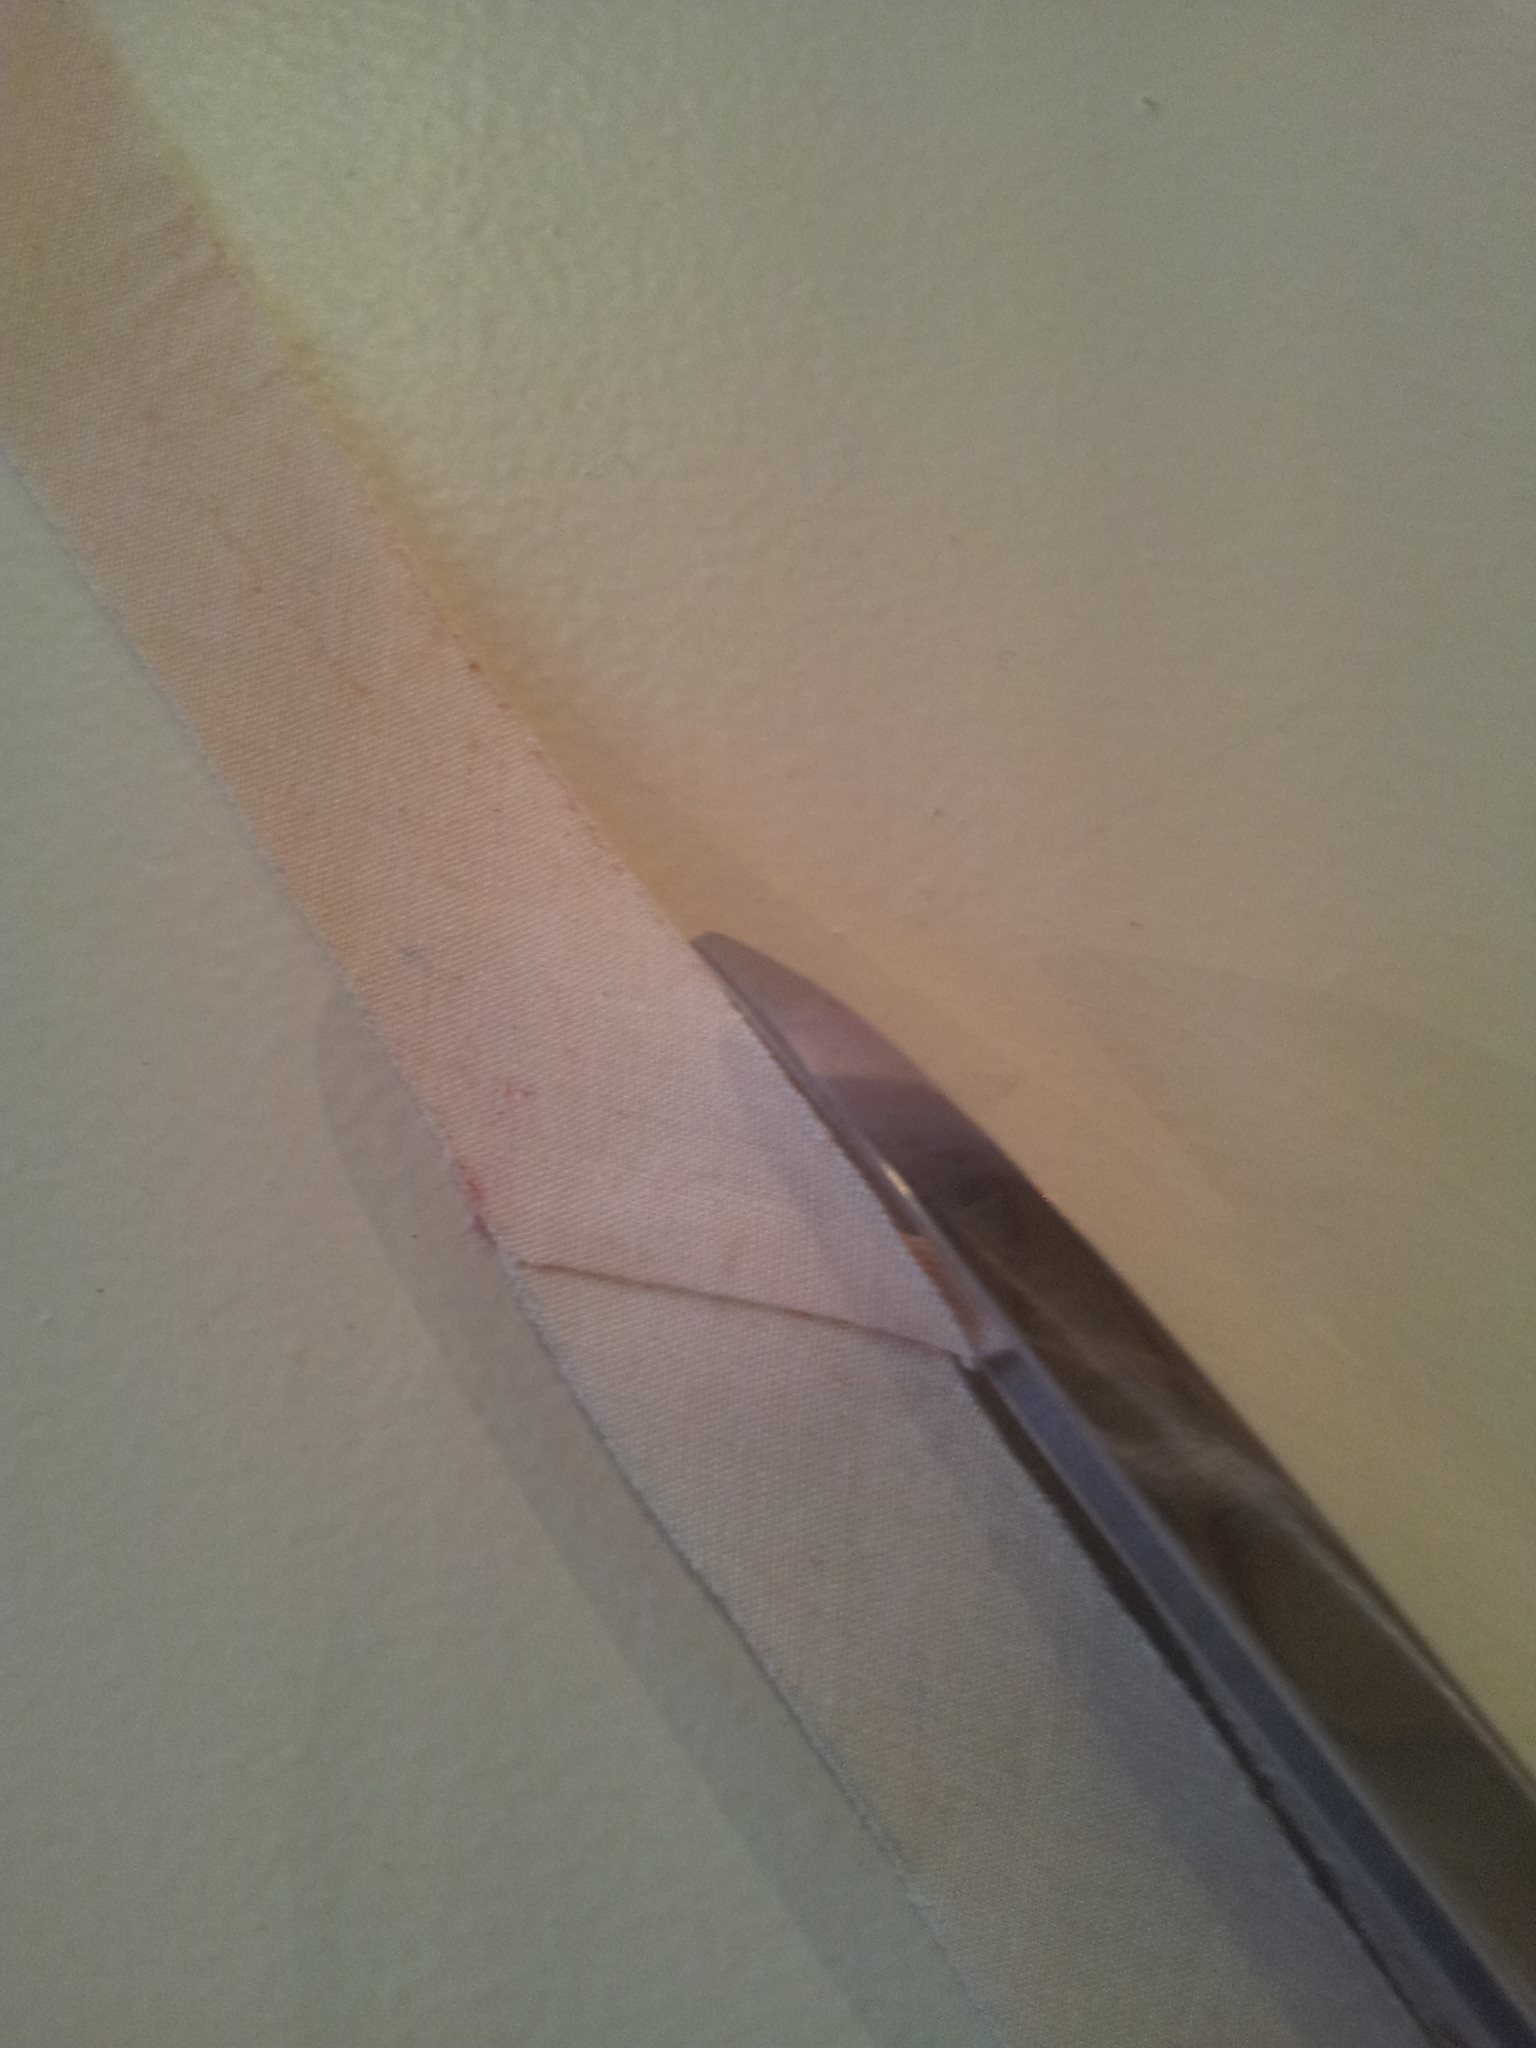
Step 5
Press the seam open and cut off the protruding corners of the seam allowances to align with the edge of the strip.and join as many strips as you need.

 Here you go! Give yourself a pat on the back. You have just made your own bias tape!
Next time you go to one of your sewing classes you’ll be able to boast your newly acquired knowledge! I hope this will come in handy in your current and future sewing and dressmaking projects. I’d love to hear your thoughts and if you have any other method or technique you’d like to share I’m all ears!
Till next tutorial lovelies..Keep sewing! 🙂
Greetings! I know this is somewhat off topic but I was wondering if you knew where I could locate a captcha plugin for
my comment form? I’m using the same blog platform as yours and I’m having trouble finding one?
Thanks a lot!
Hi there!
Sorry I have no idea! My web developers look after this kind of thing..I just input content 🙂
Good luck with your search.
Elena
This is the perfect method for cutting bias strips, making your own, and therefore matching it with your fabric gives a much nicer finish than buying non matching bias tape. It never matches properly in colour, fabric type or weight! Great tip!
Absolutely! Nothing better than being able to make your own! 🙂 x
Many thanks for this tutorial on making your own bias tape. I did have the confidence in acquiring this easy technique but following each picture template, I feel I can overcome my fear of making the bias tape – so I will put to practice and I am sure I it will turn out perfect.
You’re very welcome! I am glad it you find it helpful 🙂 x