Believe it or not, I had every sewing supply in my studio except…guess what?! Yes, you guessed it! A lovely and cute pin cushion like this one I finally got around to making the other day! It had been on my sewing to do list for absolute ages and since I was making it anyway, I thought it would be nice to show you how to sew one too 🙂 Sew…let’s begin with the materials and sewing notions you need to complete this project! 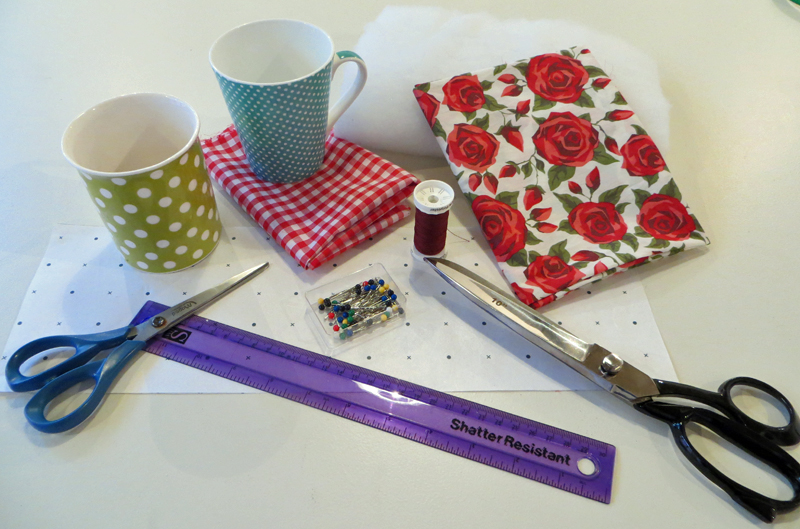 What you will need
1. Some round objects to use as a template for the pattern. I used two mugs with different size bottoms 🙂
2. A piece of pattern paper or simple copier paper or any kind of paper
3. Two different types of medium to thick cotton fabric or one type if you wish to make it in one colour
4. A small piece of wadding
5. Some thread
6. A ruler
7. A pair of paper scissors
8. A pair of fabric shears
9. Some dressmaking pins
Step 1
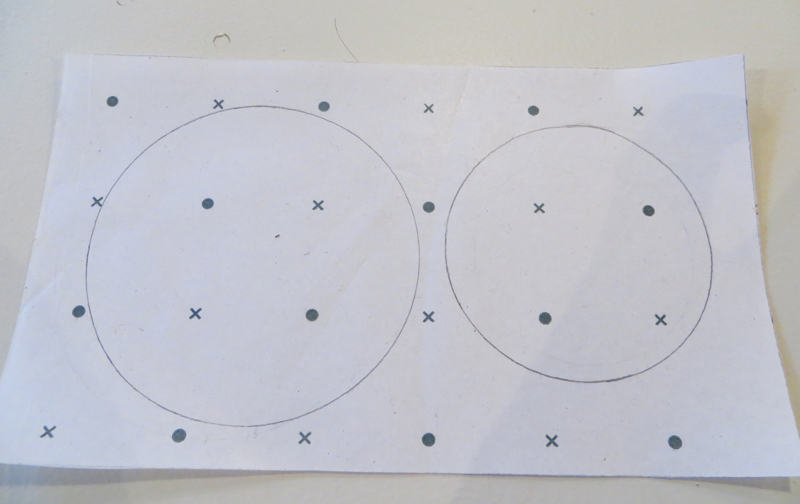
Place your round objects on your paper and trace around them using a pen or pencil
 Step 2
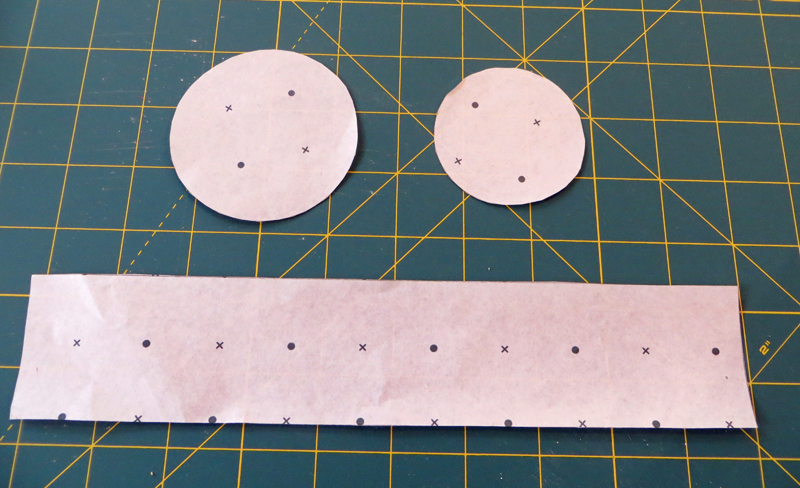
Measure the circumference of the bigger circle and then draw a rectangle with a total width equal to the bigger circle’s circumference and 2 inches high. Cut out all three shapes using your paper scissors.
 Step 3
Pin your pattern pieces onto your fabrics and cut them out using your fabric shears. 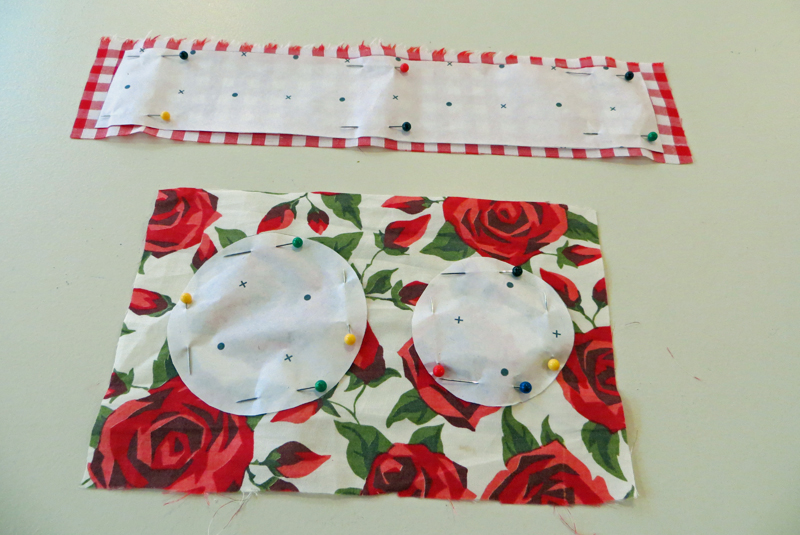
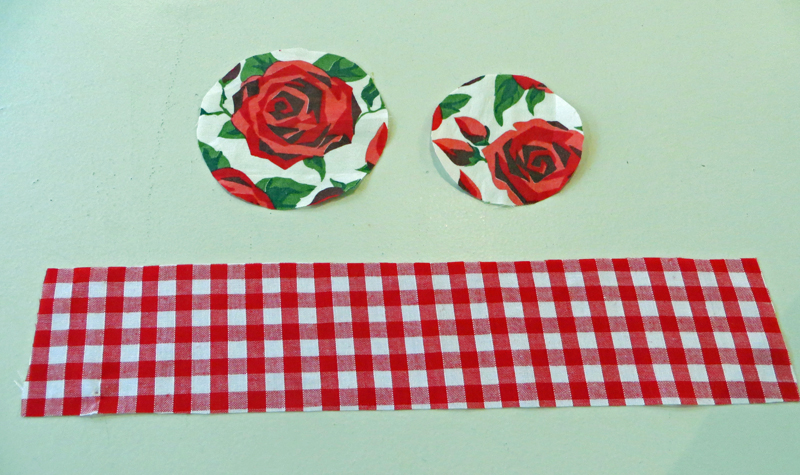 Step 4
Pin your fabric rectangle all around the edges of the bigger circle piece. 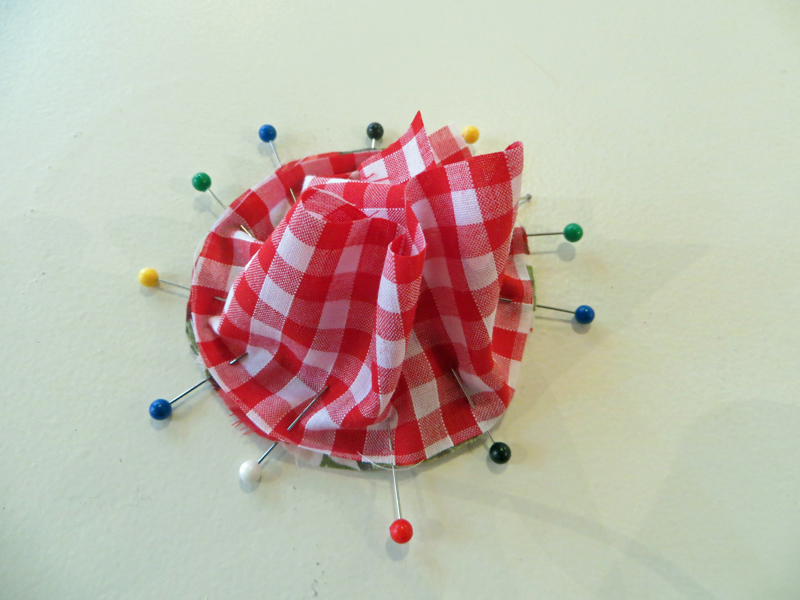 Step 5
Set your sewing machine to straight stitch and sew a 0.6 seam allowance all around the circumference. *You can align your fabric to the edge of the presser foot to obtain this size seam allowance. Place a couple of pins down the rectangle side and sew the same seam allowance all the way down its length. Don’t forget to backstitch all seams to lock them! 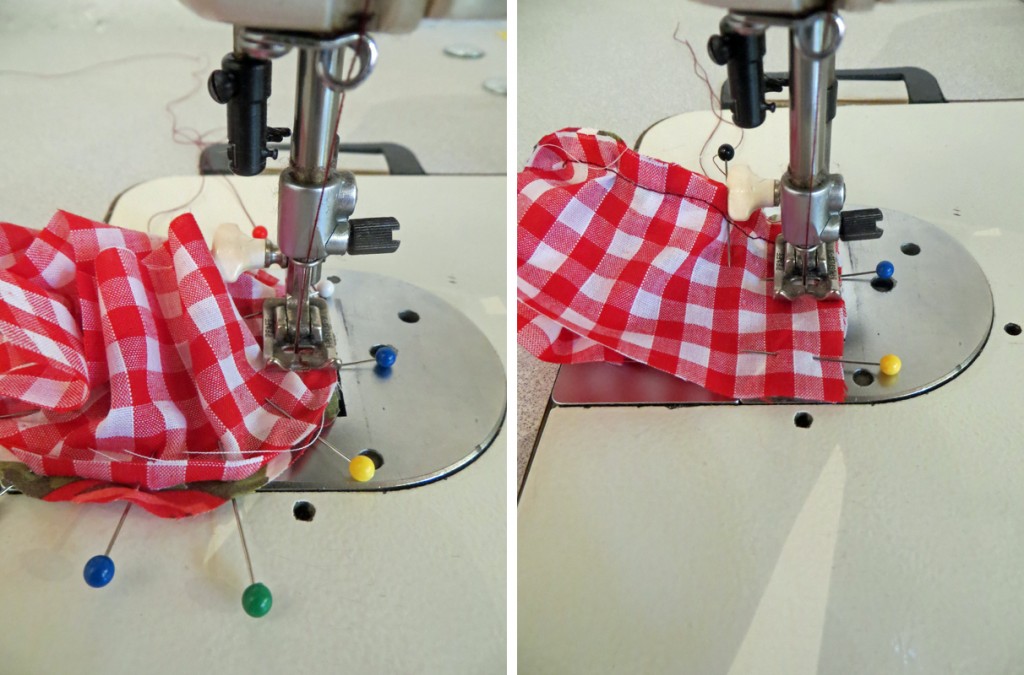 Step 6
Pin the smaller fabric circle to the opposite side creating a few evenly spaced pleats to fit the circle and leaving about an inch open gap. 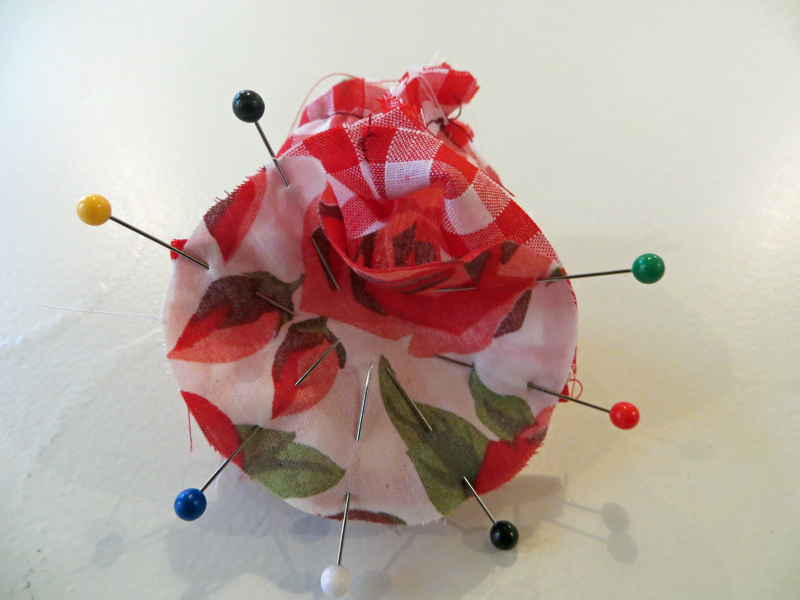 Step 7
Sew a five to 6 mm seam allowance all around the smaller bottom circle backstitching at the either sides of the open gap. 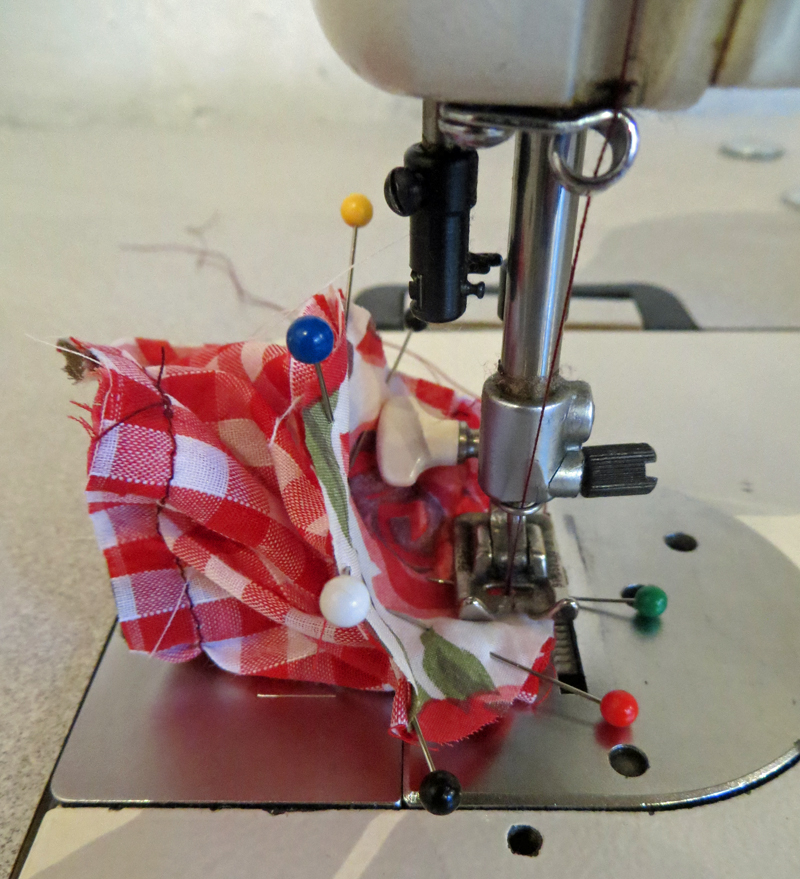 Step 8
Stuff the wadding through the open gap filling up the case with as much wadding as you can fit in! 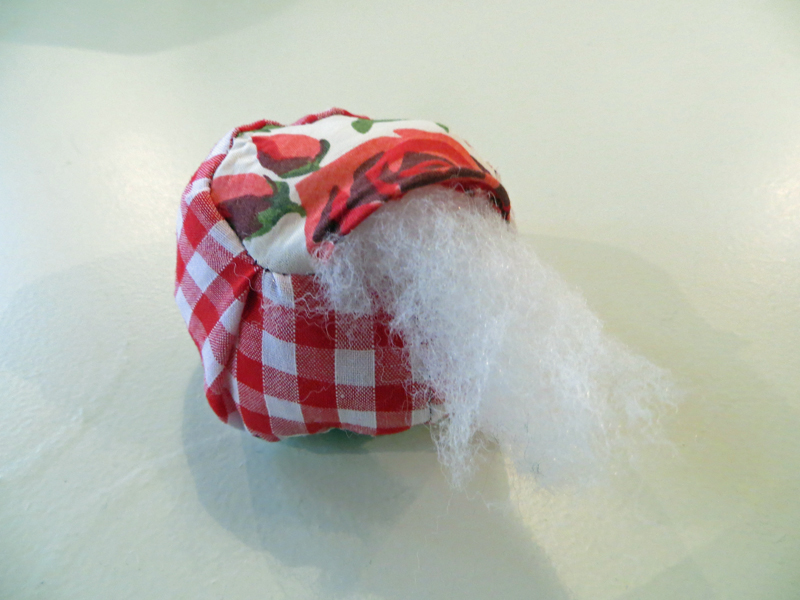 Step 9
Close the gap using a few pins and edge stitch it using your sewing machine. You can also do a few hand stitches if necessary. I did! 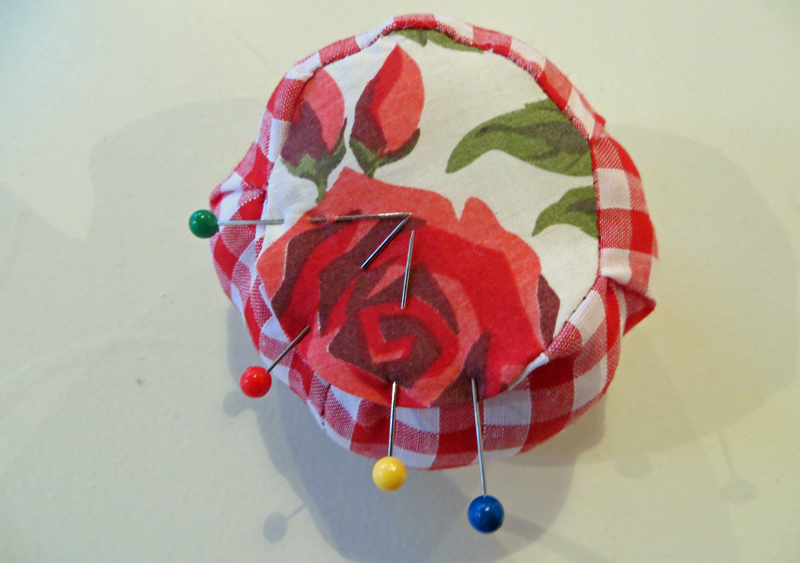
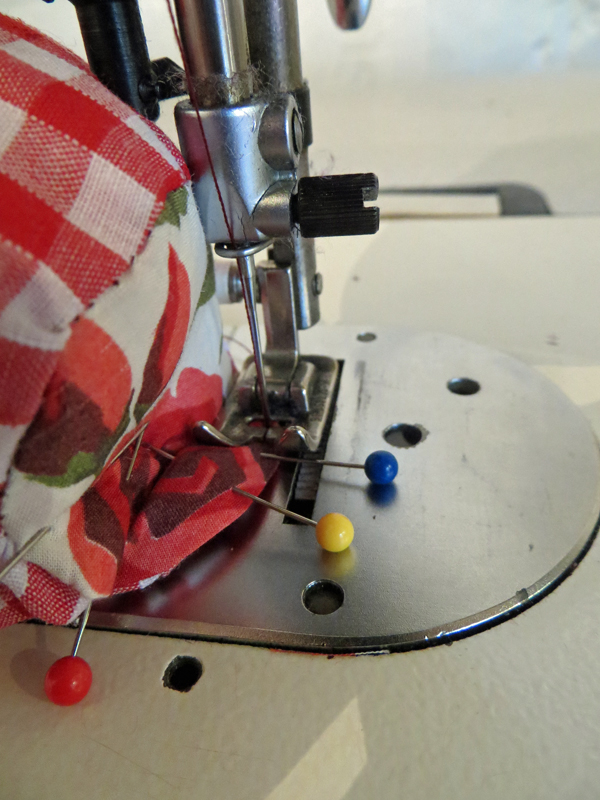 Step 10
Plump up your cushion making sure the wadding is evenly distributed and..voilà! Here is you super cute pin cushion ready for all your pins to go in! Well done for sewing this cute and little ,but VERY useful item! 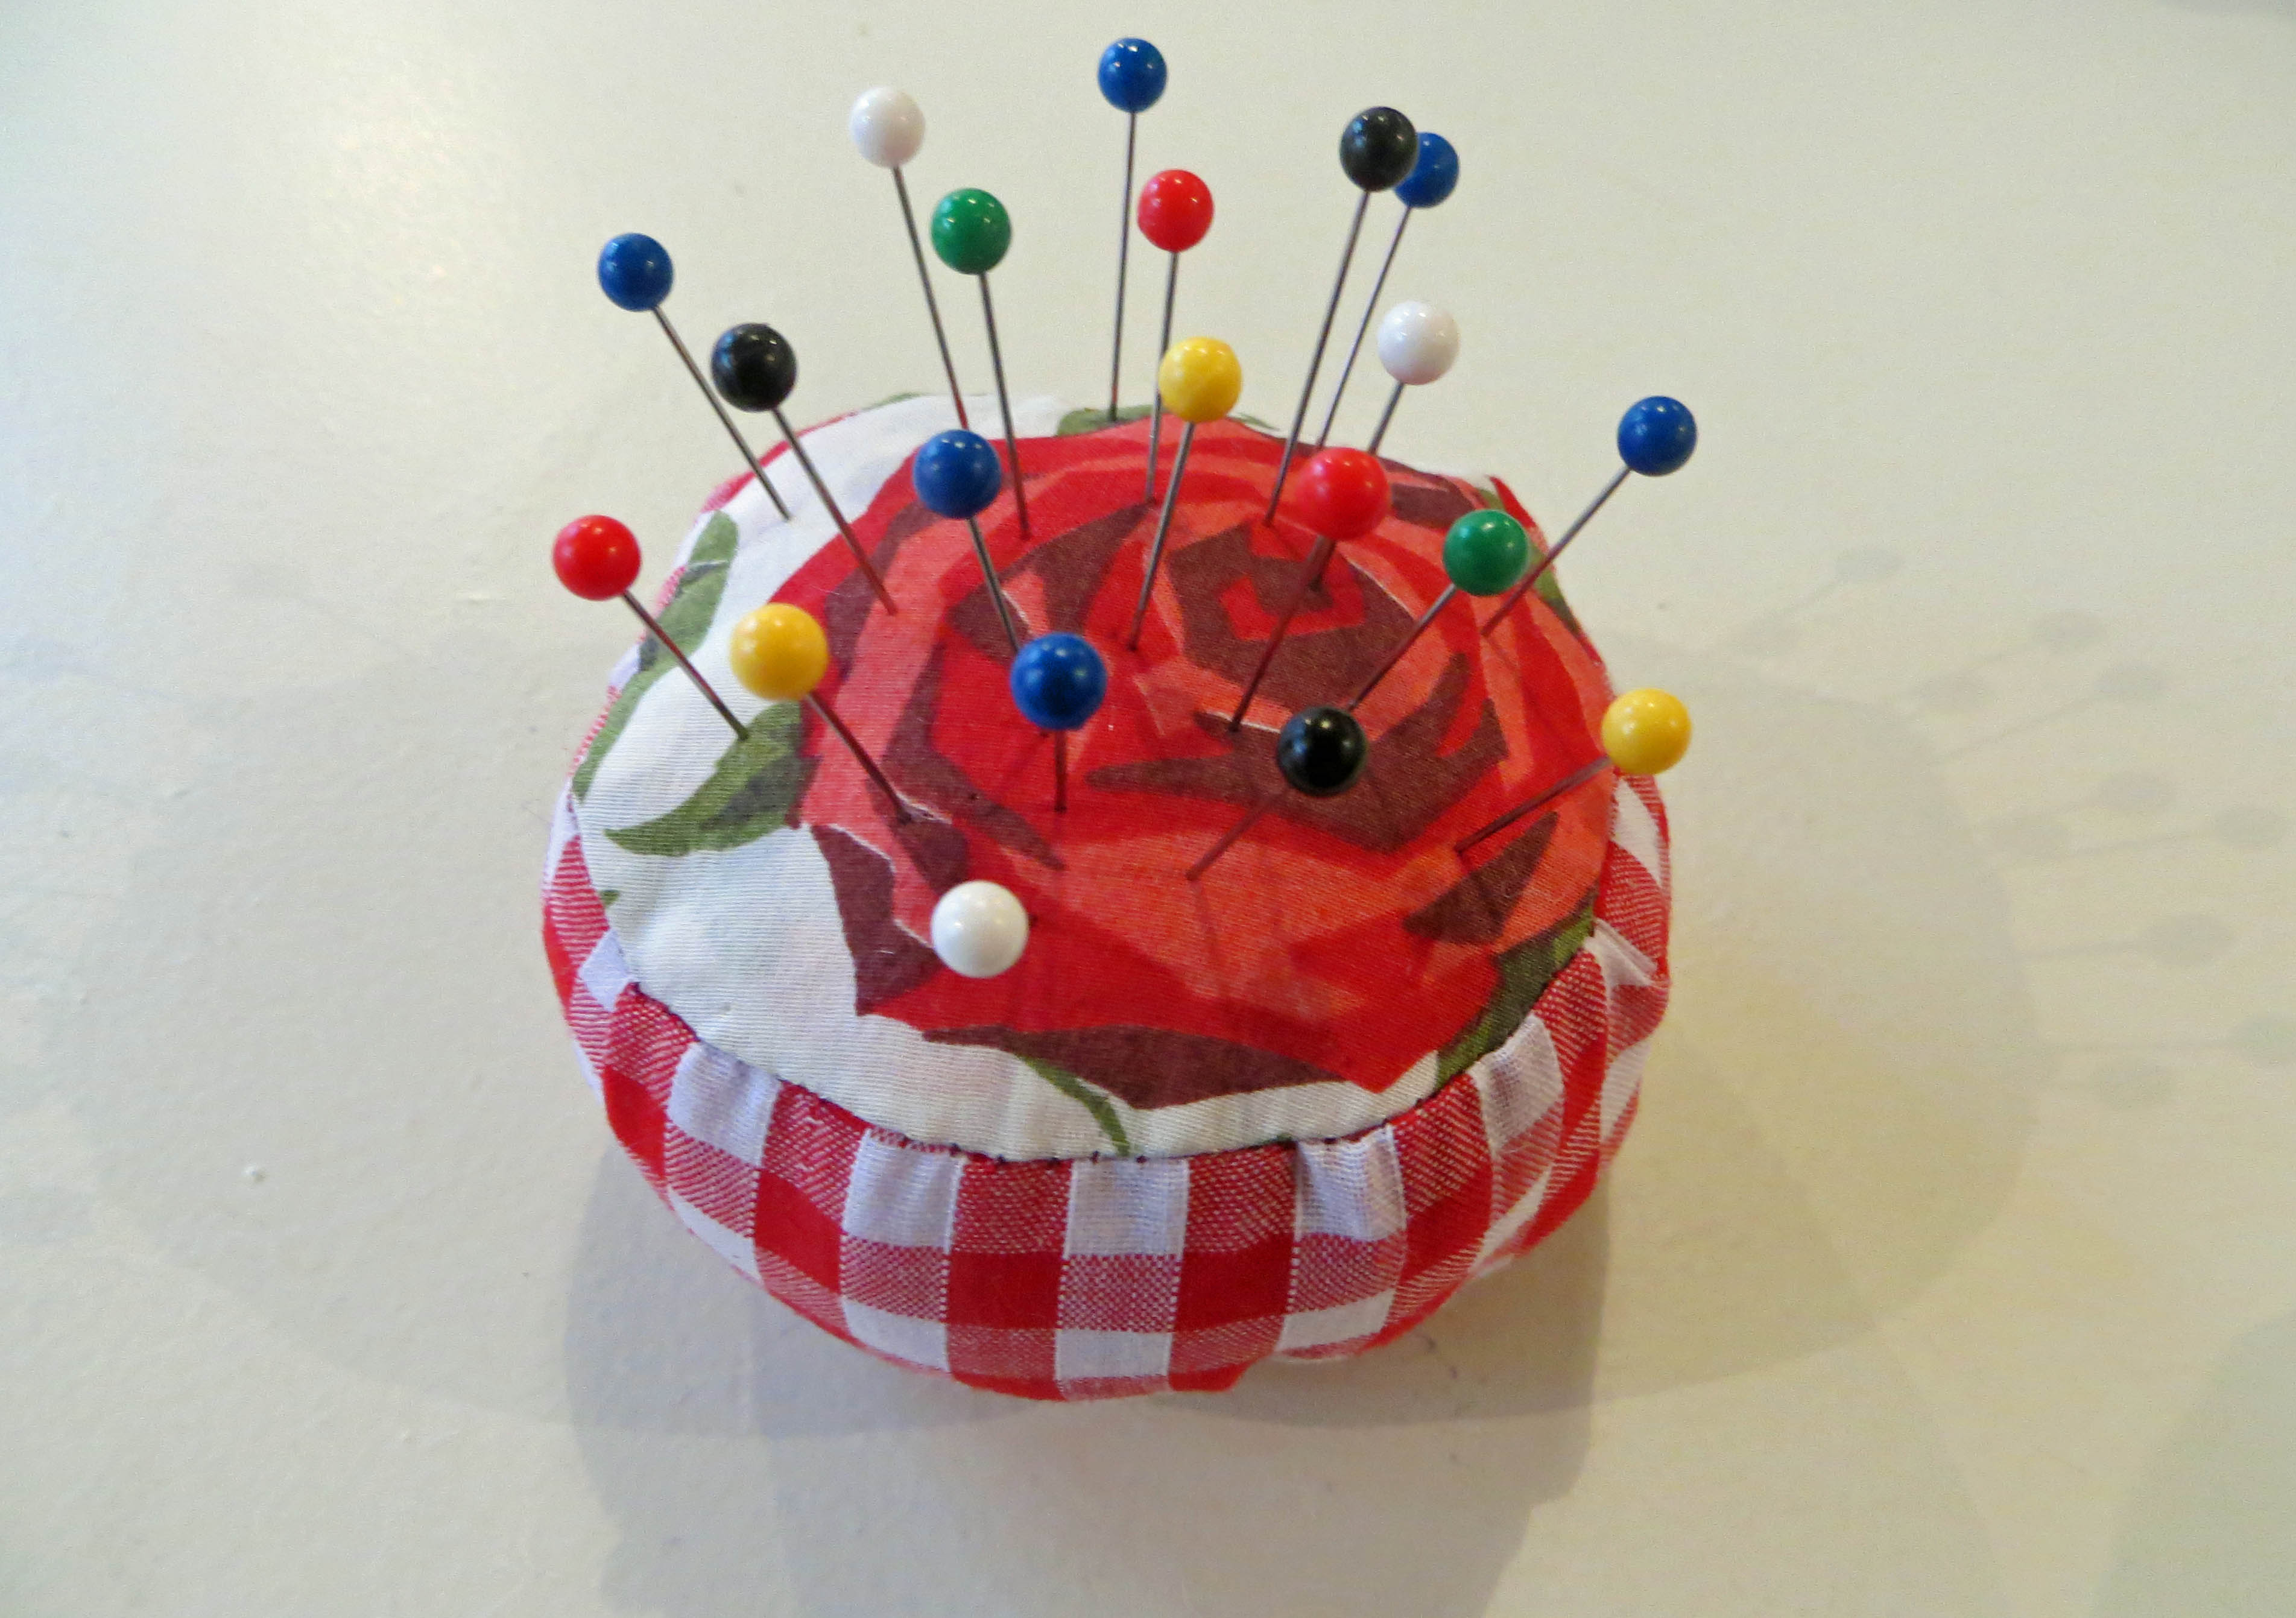 I hope you have enjoyed this ‘How to Make a Pin Cushion Sewing Tutorial’ as much as I have…I will be back soon with more sewing goodness! Elena 🙂 x

Leave A Comment