A fly front zip like one you find on your store bought clothes looks great on casual and more formal garments alike, but alas taking a close look at it on a garment to try and work out how it is constructed sends you into a slight panic, right? I know!!
Well my lovelies, panic over! Our very own fabulous Linda has come to the rescue by putting together this great tutorial to show you exactly how to sew a fly front zip the way the pros do it!
Now… before we begin I must tell you that the the following instructions are based on the fly front zip fastening the women’s way for use on trousers, jeans and casual skirts. However, a lot of jeans are produced on the man’s side. To sew in the zip the man’s way, just reverse the process.
This technique, using the folded placket seems to be a much more popular method for constructing a fly front zip and is used in varying price ranges.

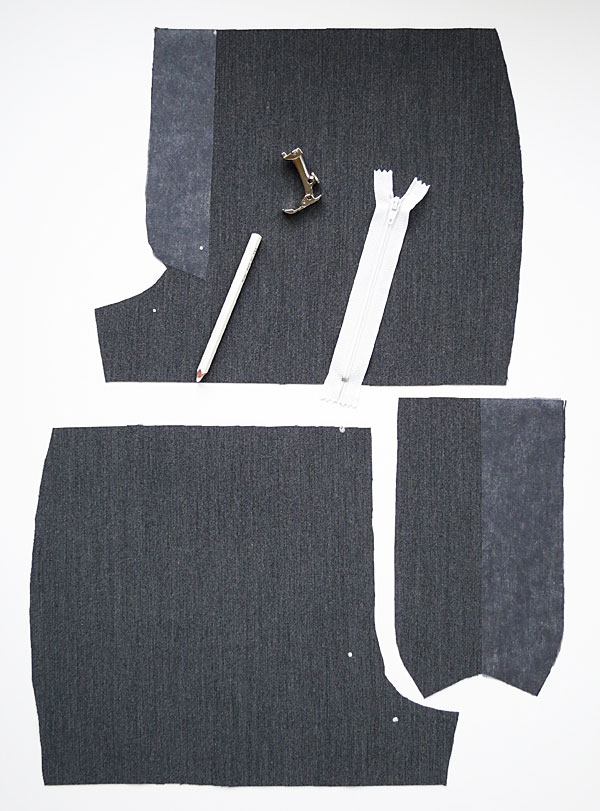
In preparation, this is how I like to have my pattern pieces. The placket can be any width, but should be the same as the extension on the front pattern piece plus seam allowance. The top stitching can be any width but it does follow the width you make the placket and extension, it can be narrower, but only as wide as you allow for it to be!
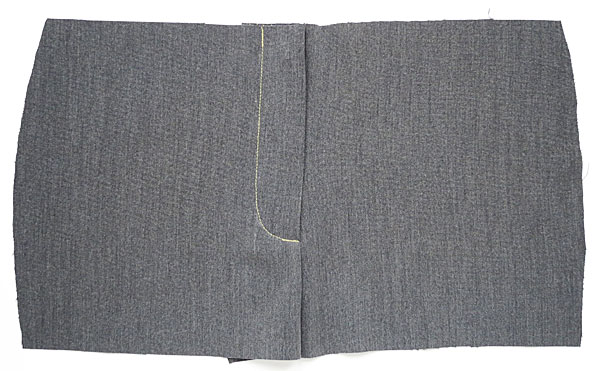
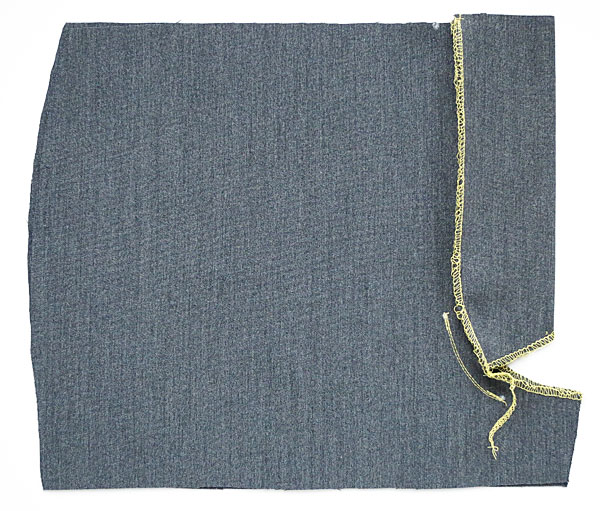
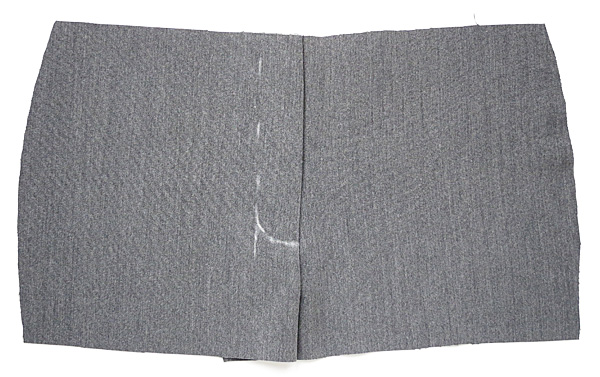
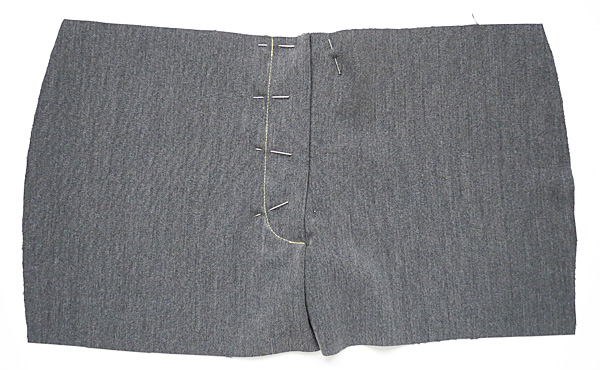
Starting with the wrong sides of the fabric, mark the centre front seam notches and mark the length of the zip with a dot. Mark this length with a dot and then move it up 1cm, this should hide the finished bar across the bottom of the zip teeth. *T0p Tip! Use water colour pencils for marking, simply because they are water based and usually disappear before the garment is finished!
This fabric is a poly/wool mix and because it had a bit of stretch and was quite fine I decided to interface certain pieces. I prefer to use the perfect size of zip for this type of fly opening. Otherwise, when you come to do the top stitch, if the zip is too long, you will inevitably break your needle, or get zip indentation marks when it’s pressed…
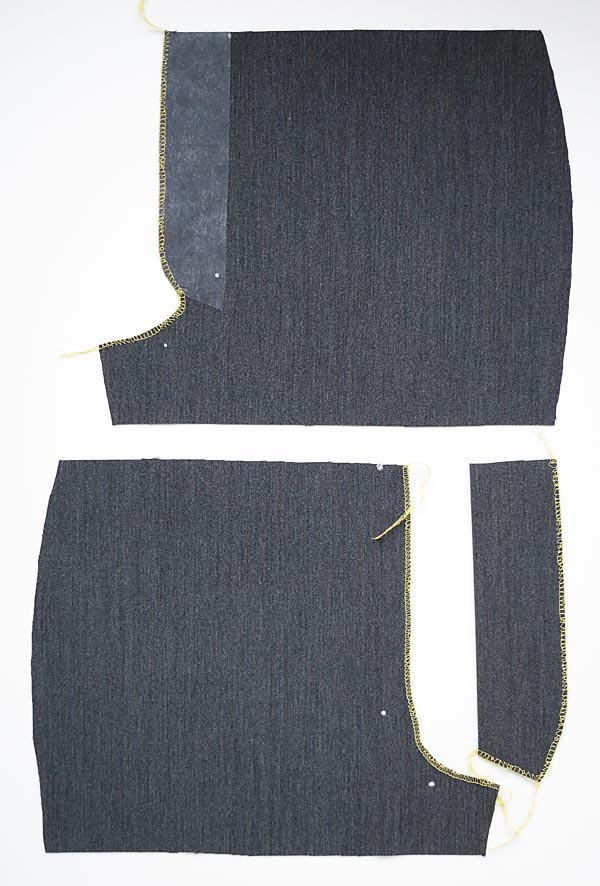
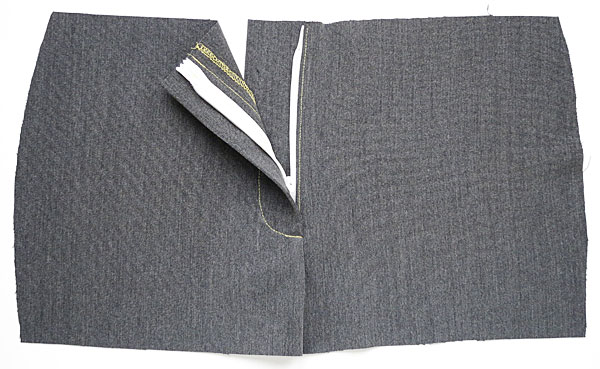
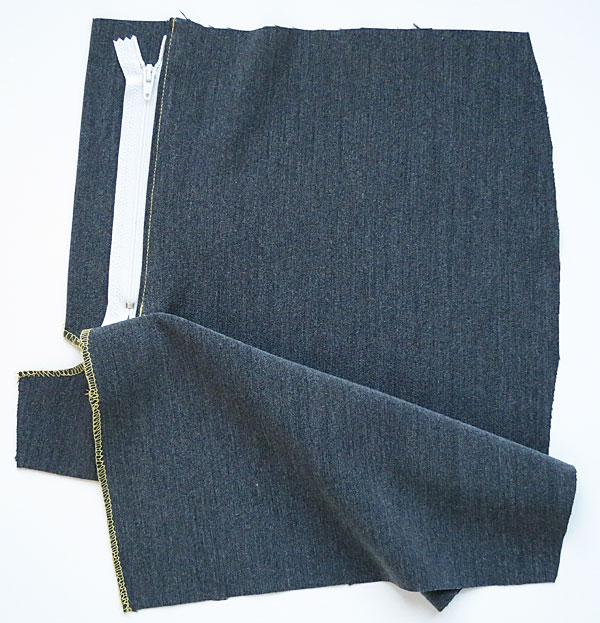
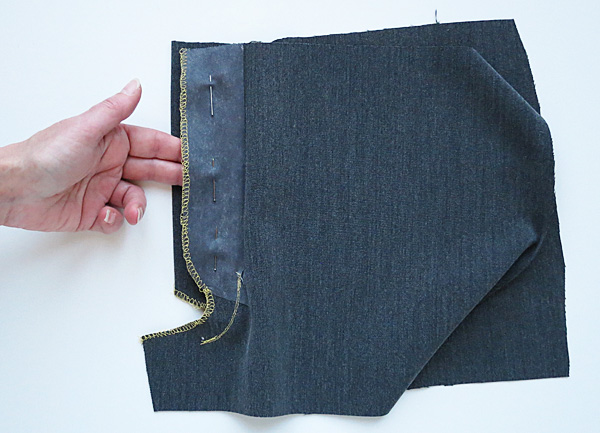
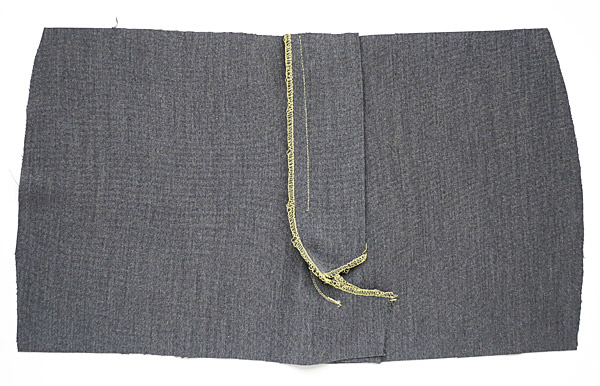
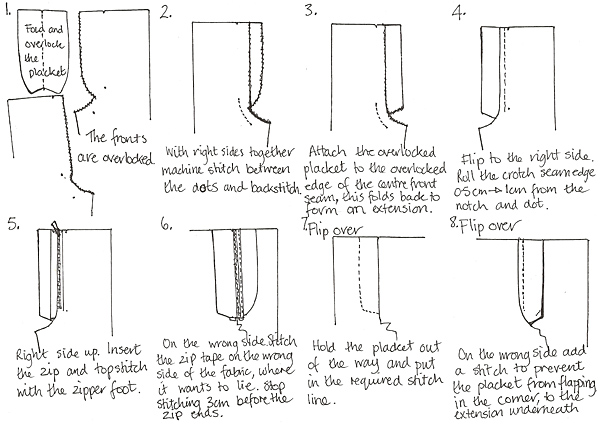
Overlock or zigzag the crutch seam on both the pieces, or finish the edges the way you prefer to. Fold over the placket and overlock or finish of the raw edges otherwise.
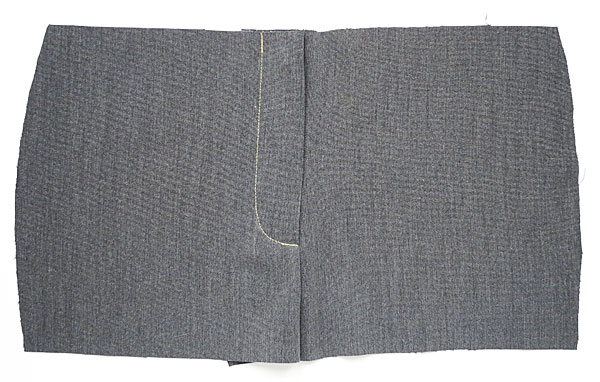
 With right sides together, sew the seam from the dot to 3cm before the leg seam edge. I often make this a double row of stitching.
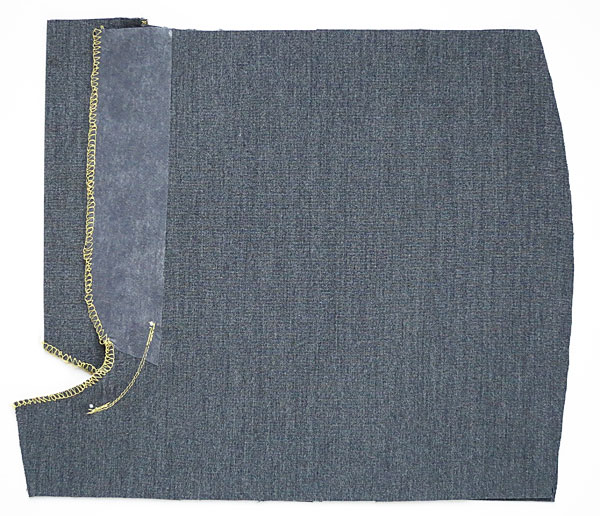
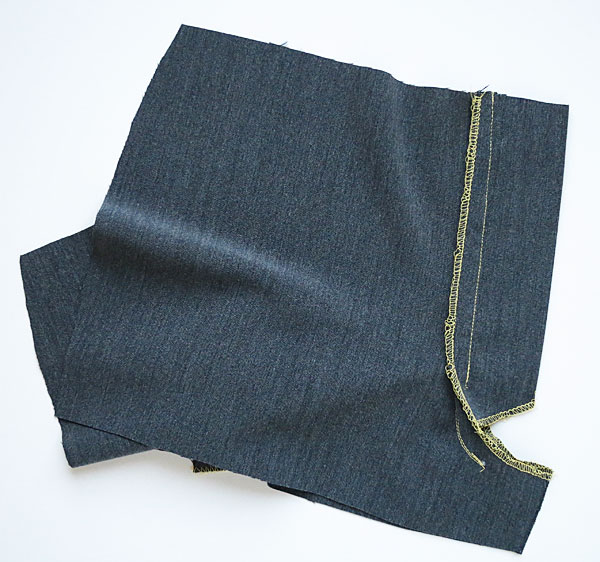
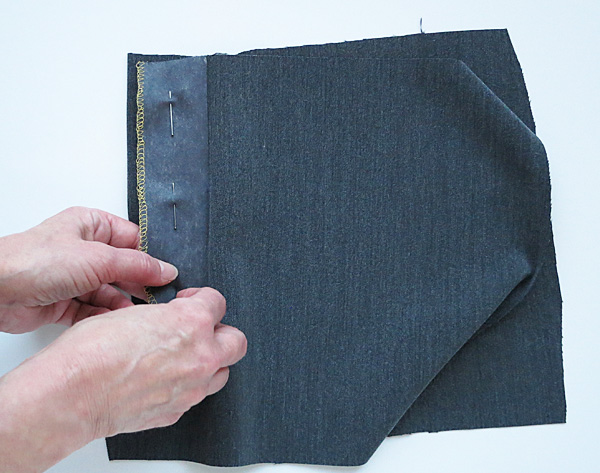
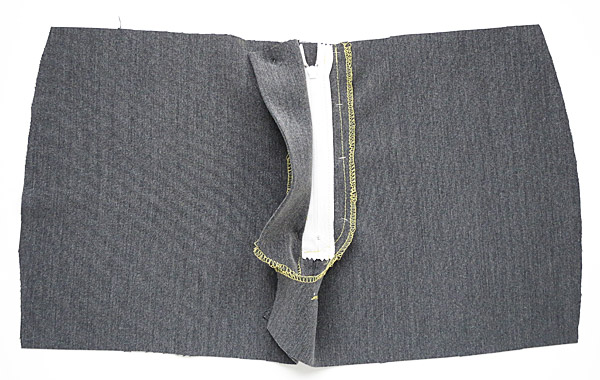
The images show the wrong side of the fabric. Sew the overlocked edge of the placket to the overlocked edge of the centre front seam, the side without the extension, this forms the extension.
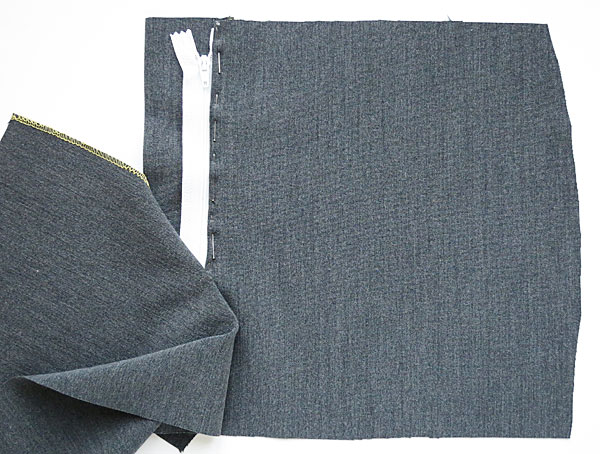
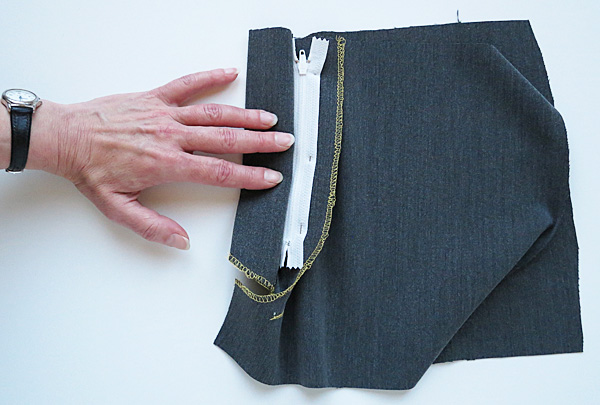
With the right side of the cut piece facing upwards, roll the entire length of the crutch seam edge 5mm – 10mm from the notch and the lower dot. With the placket held in place, turn to the right side and pin the zip, sandwiching it in between the folded top piece and the placket. The seam roll is the key to never seeing the under piece stitching showing or peeking out from the finished fly.
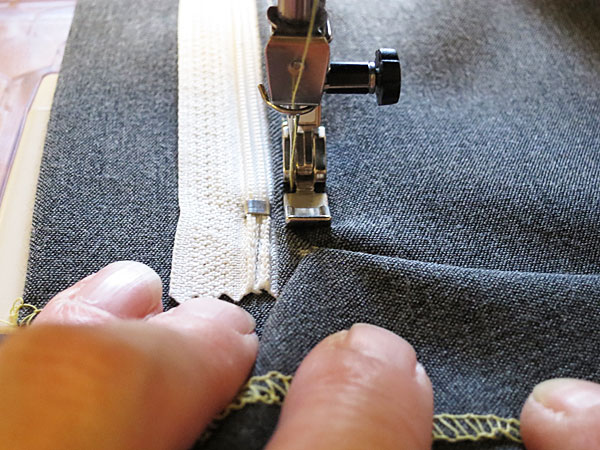
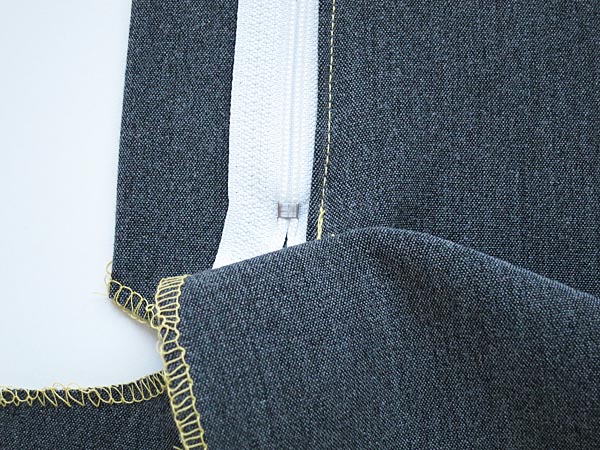
Change to the zipper foot and edge stitch down the side of the zip.
As seen on the right side,
and on the wrong side.
On the right side of the fabric, match the centre front notches together, the unattached side of the zip will sit where it wants to sit.
Feel underneath and pin where the zip tape is, making sure you don’t include the placket lying underneath. Stop the stitching line 3cm before the tape ends. This secures the zip in place without stitching onto the front – yet!
 Back to the normal sewing foot, turn over onto the right side of the fabric, still keeping the placket out of the way, sew in the required feature stitching line or lines. Because you have a holding stitch line you can make the top stitch depth any amount, the only restriction being the placket depth.
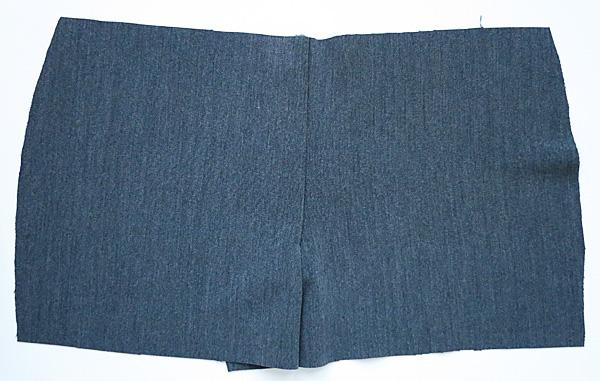
Turn back to the wrong side and stitch in the corner to prevent the placket from flapping, or use bar tacks on the front on the corner curve. Press.
And finally, here is an illustrated summary for you!
So my lovelies… I hope you have enjoyed this fly front zip tutorial.
Are you going to give it a go? What would you make?
Leave a comment below. We’d love to hear!
Happy stitching! 🙂
Elena x
I have trouble interpreting your directions for woman’s fly front to men’s fly front. Should be simple, but I can’t master it.
Any suggestions?
Neil
Hello Neil, I’m not sure what else to suggest apart from what’s already in the tutorial. We tried to make it as clear as possible..Sorry!
Hi
Great instructions but just wanted to know if for women’s trousers, on the pattern piece should the extension be on the right or left front.
I have a pattern that I believe is wrong and totally confusing me.
Thx nikki